|
Configuring Cal-VIS Software
|   |
|
Configuring Cal-VIS Software
| |
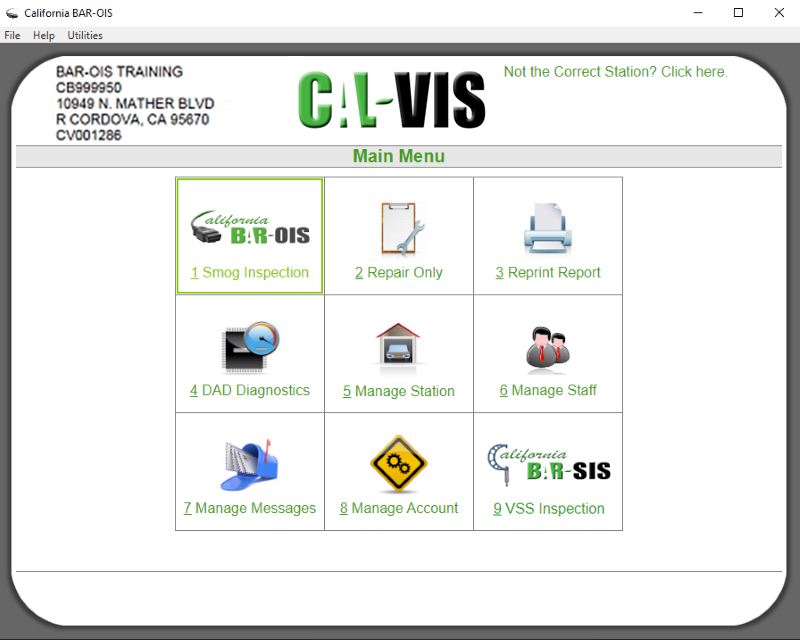
Use any of the following methods to start the software.
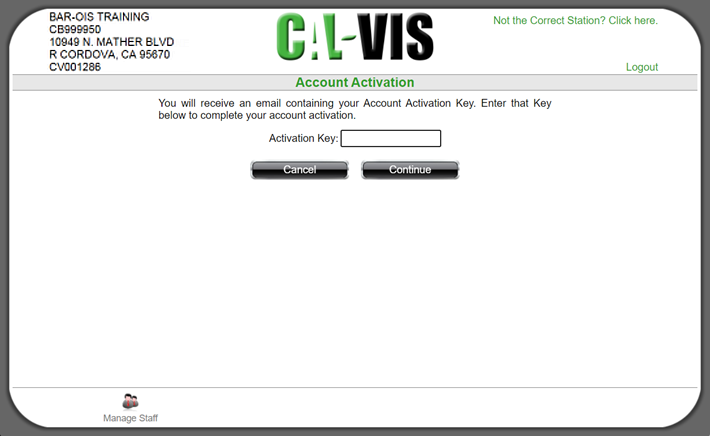
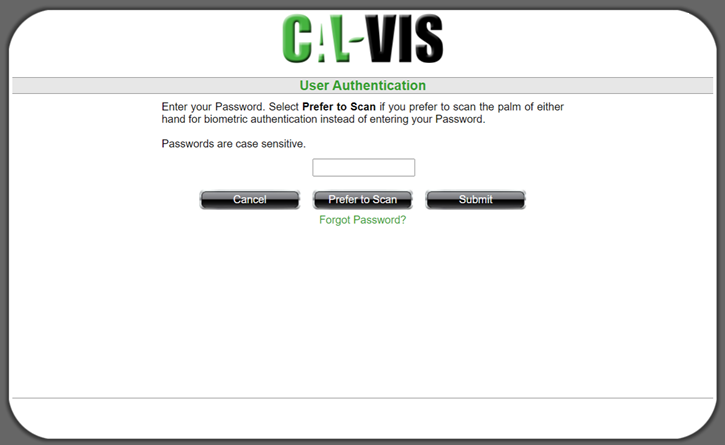
Refer to the following for login details:
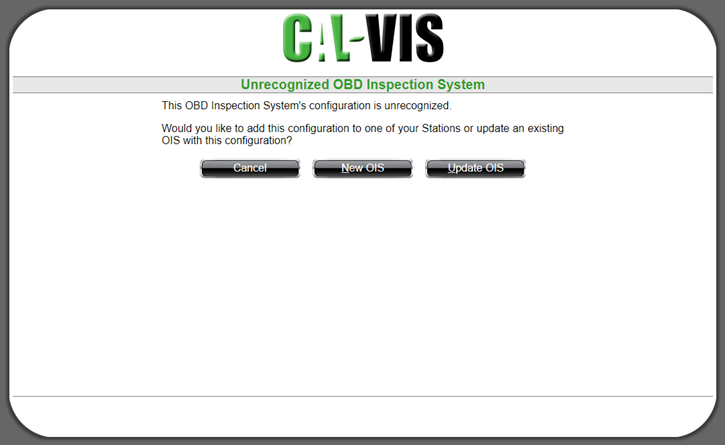
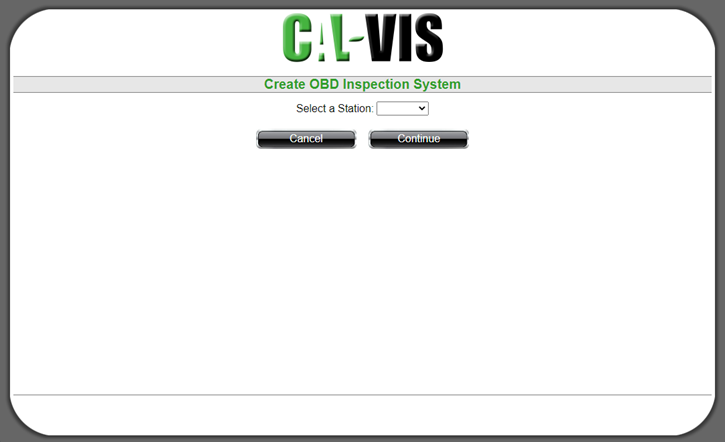
Refer to the following for information on configuring your analyzer the first time:
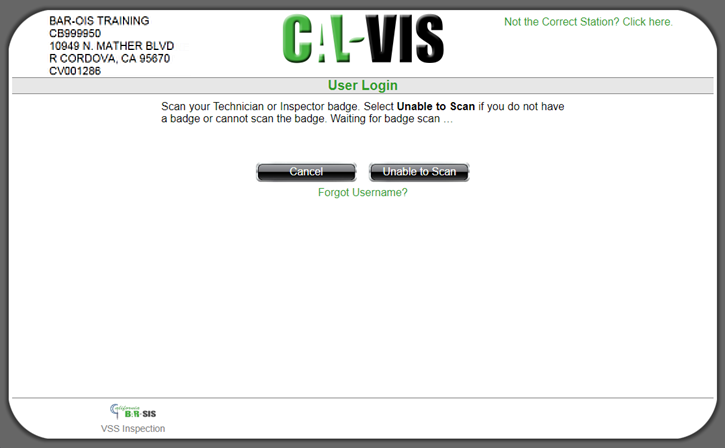
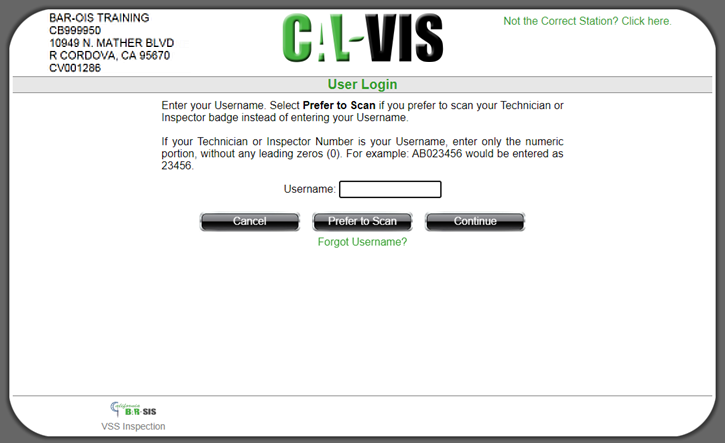
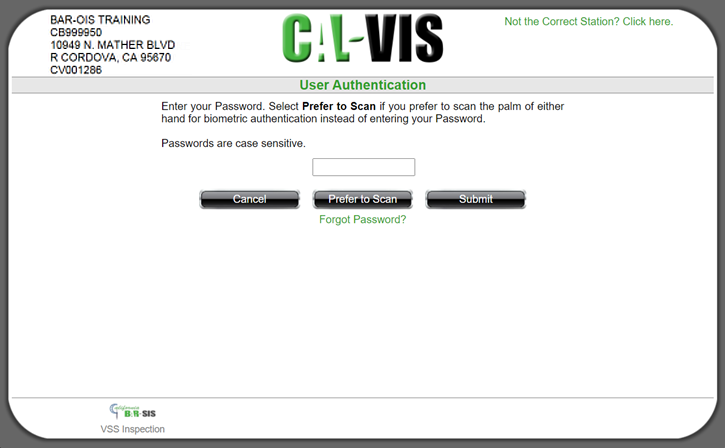
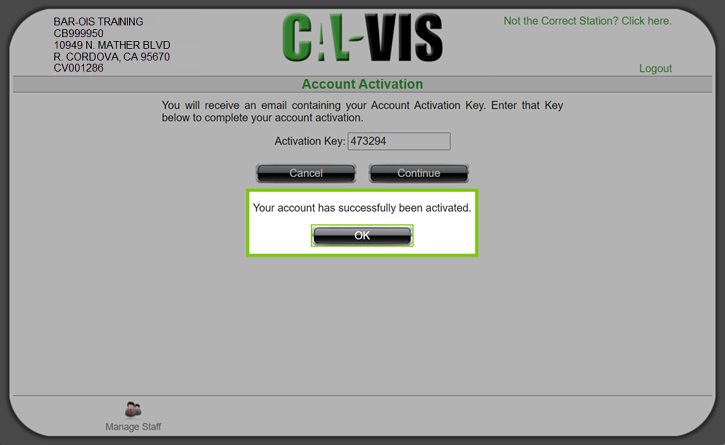
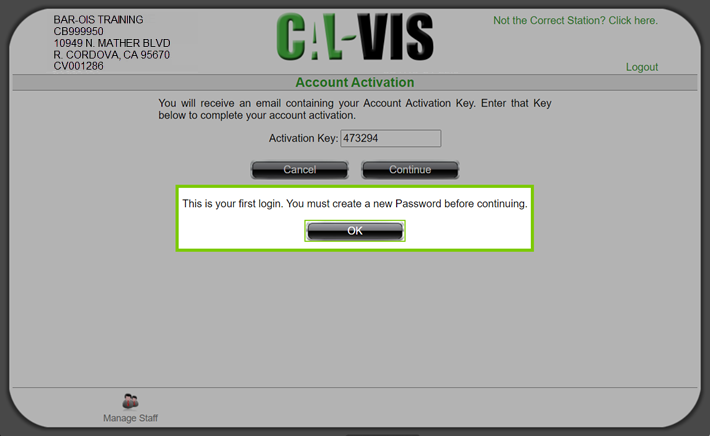
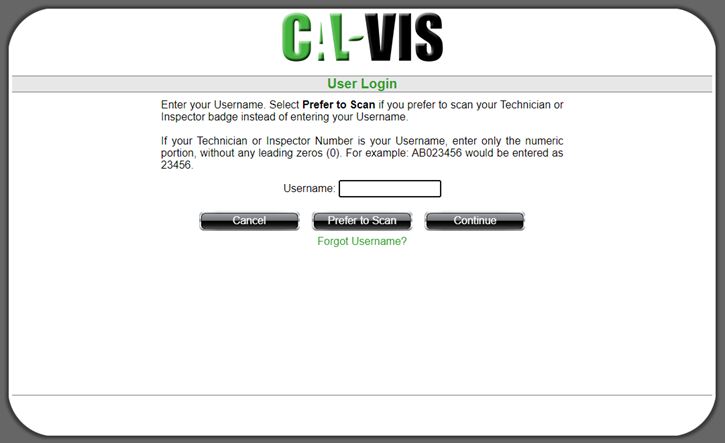
Select a Main Menu option and then execute the following process to log in with a new account.
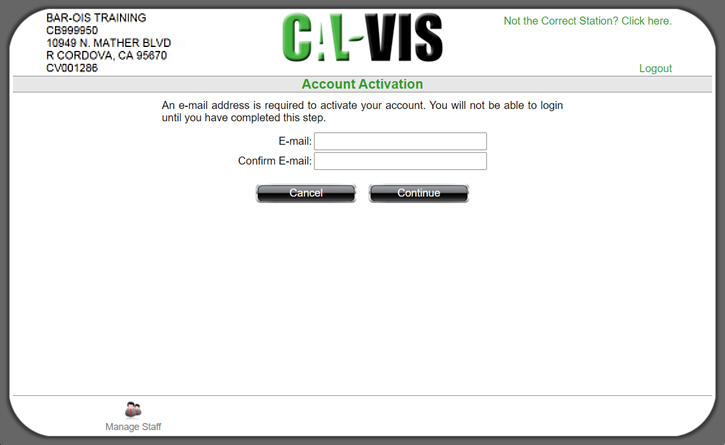
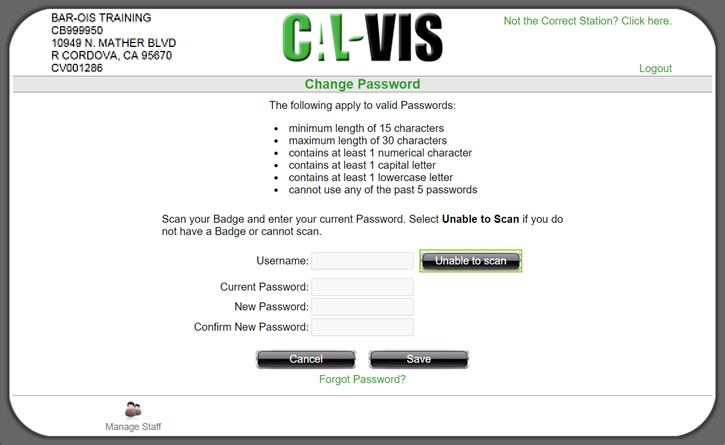
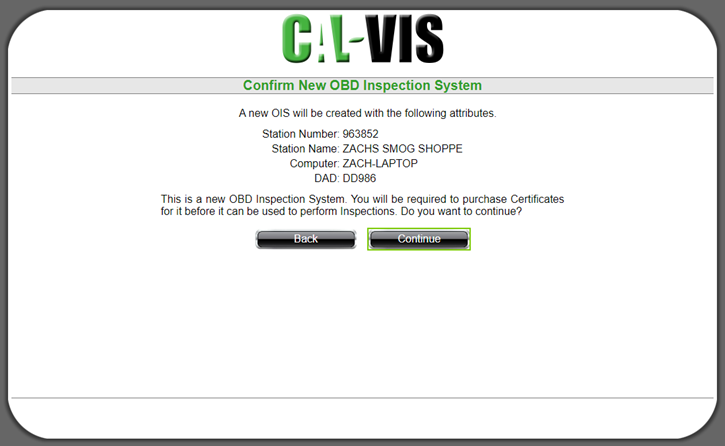
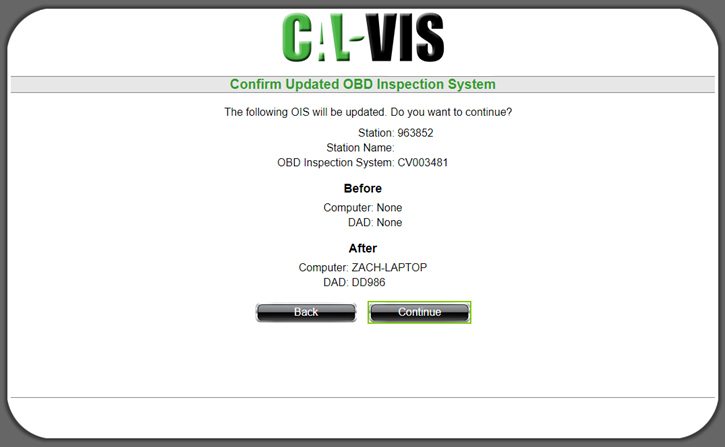
Click Save to proceed.
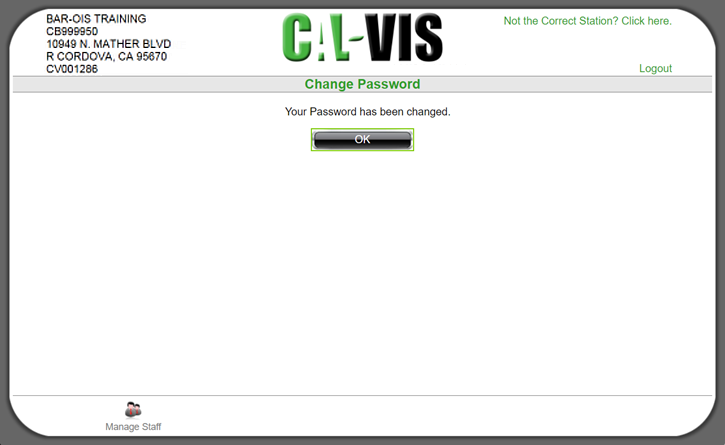

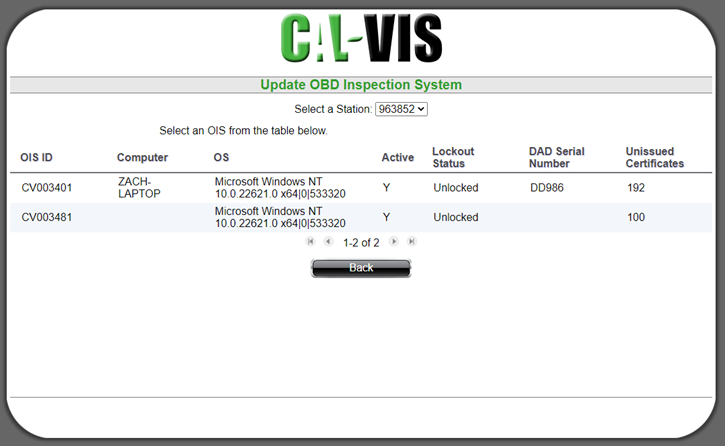
The system reflects the selected station.
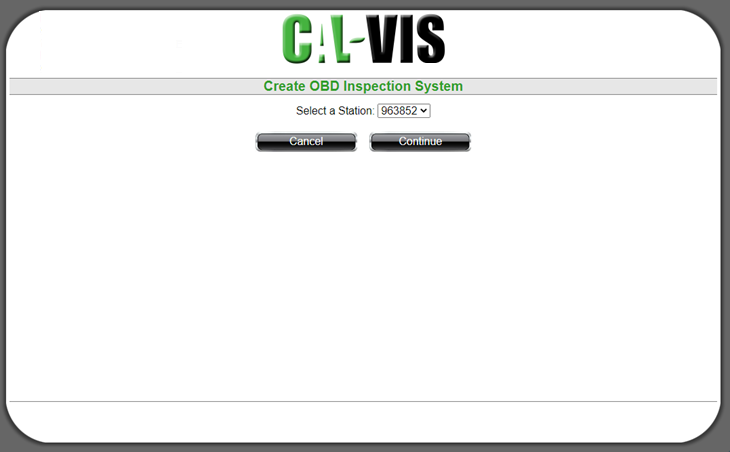


The system reflects the selected station.
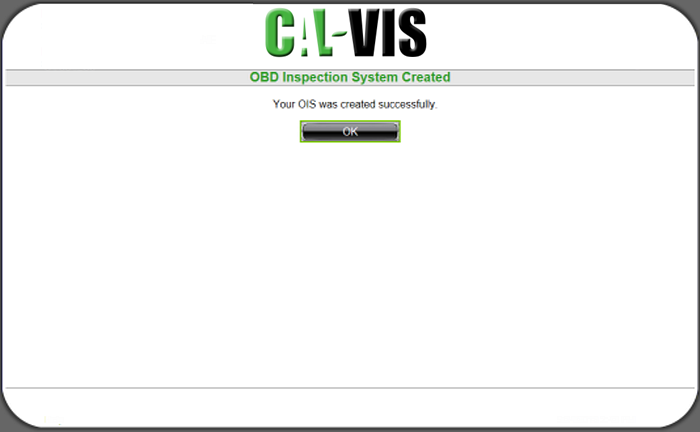
Select OK to navigate to the Cal-VIS Main Menu.