This topic describes the following:
- Test Modules: This screen displays the Test Modules to be run based on the entered Vehicle information.
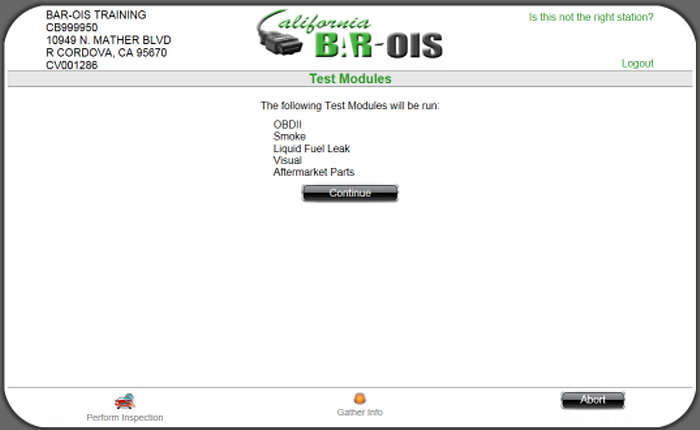
Click Continue to proceed to the MIL Check (KOEO) step.
- MIL Check (KOEO): Follow the screen instructions in their displayed order.
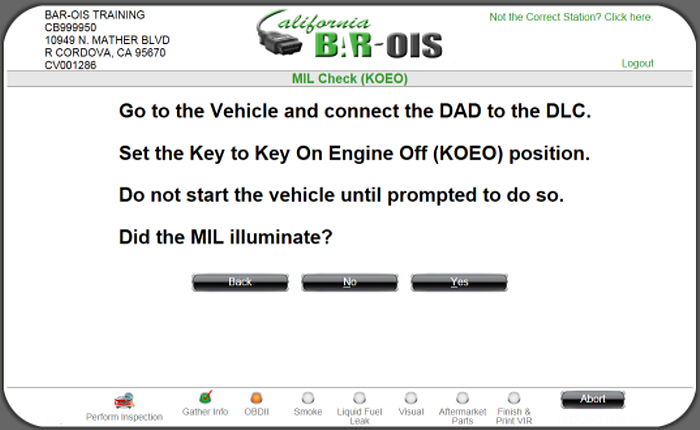
Select one of the following responses to Did the MIL illuminate?
- Back to redisplay the Test Modules screen
- No to display the MIL Check (KOER) screen
- Yes to also display the MIL Check (KOER) screen
Back to Top
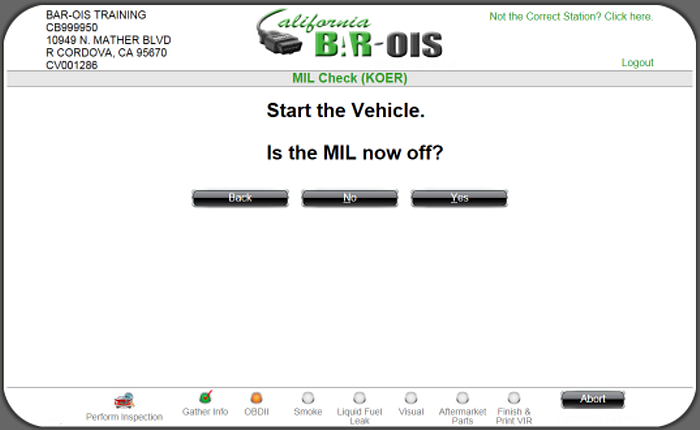
- 3a. MIL Check (KOER): Start the Vehicle and respond accordingly to Is the MIL now off?
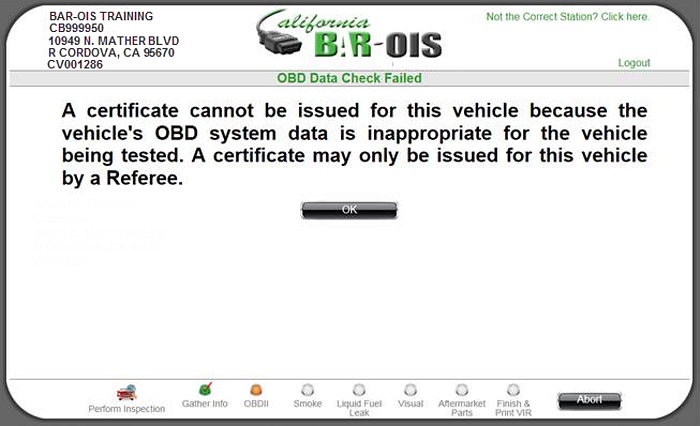
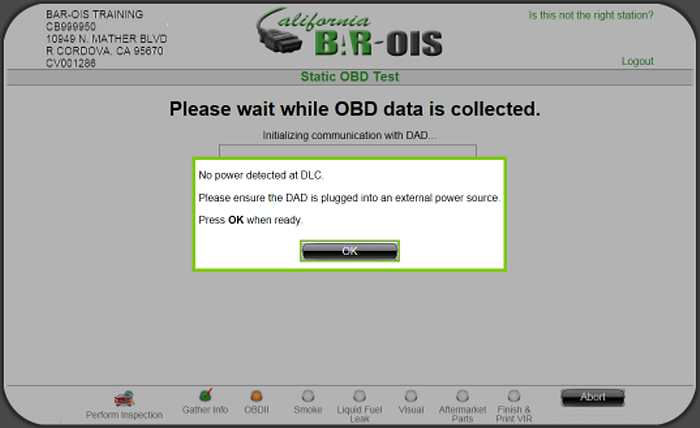
Note: The following screen appears when the software detects a DAD disconnect from the DLC during the OBD test.
Note: The following screen appears when the software detects changes in the DAD configuration files
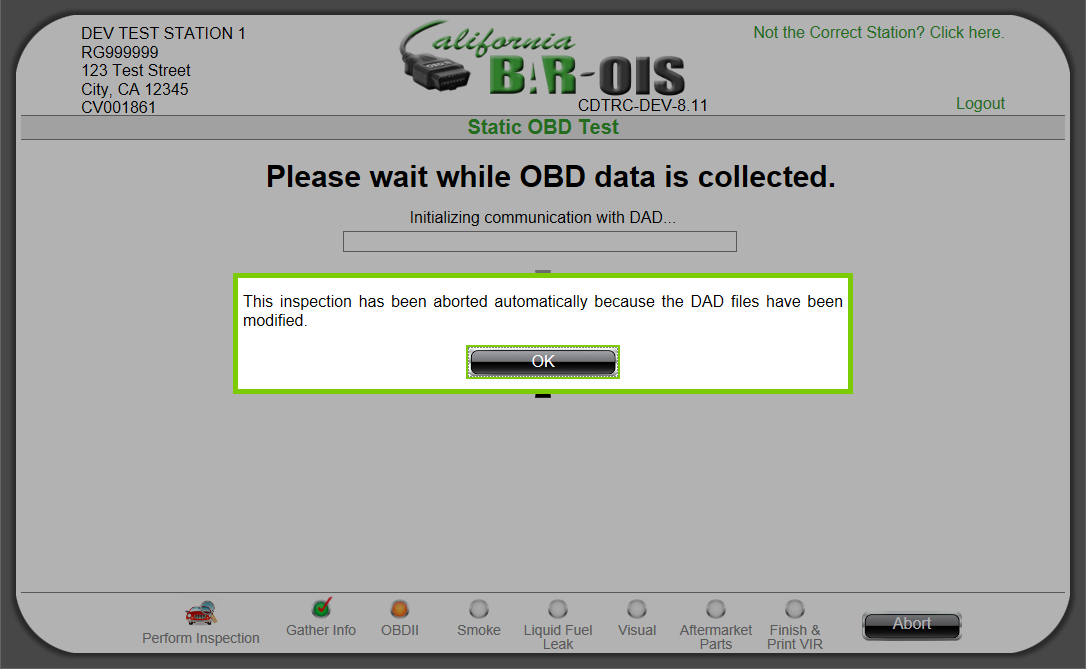
Click OK to exit. Work with your DAD vendor to restore default configuration settings before inspections can resume.
Back to Top
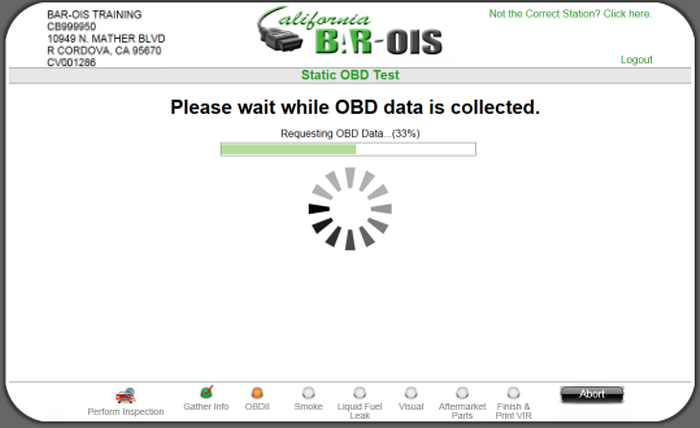
- 3b. Static OBD data collection
If the KOER check result is that the MIL is not off, Static OBD Test and test data collection are performed.
The following screen is displayed upon conclusion of collecting OBD static data if the MIL was indicated as
still on during KOER, but the collected static OBD data did not indicate the MIL was on. Follow screen
instructions to set the key to the KOEO position and respond accordingly to Did the MIL Illuminate?

- Select No if the MIL did not illuminate.
- Select Yes if the MIL did illuminate.
The following screen is displayed for either of the preceding responses. Start the Vehicle and respond
accordingly to Is the MIL now off?
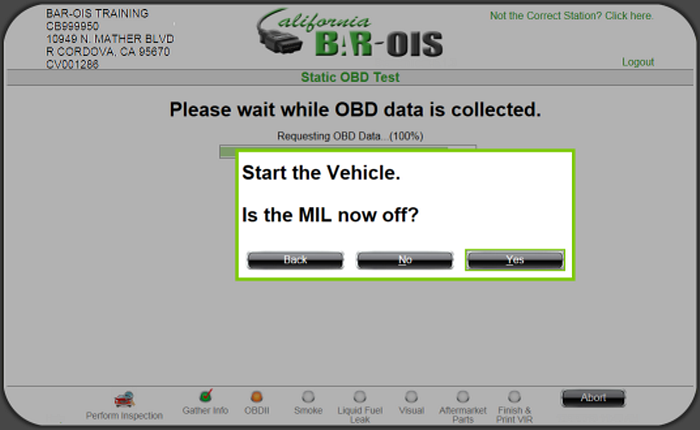
- Select Back to redisplay the previous screen.
- Select No if the MIL is not off.
- Select Yes if the MIL is off.
If the MIL illuminated for the KOEO re-check, additional OBD data is collected.
The Static OBD data collection is complete.
Back to Top
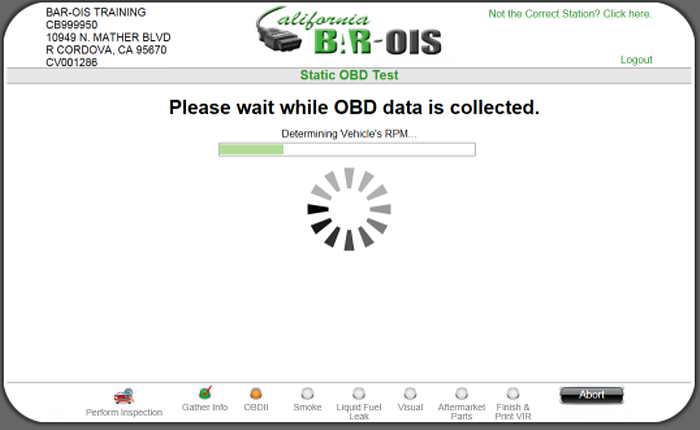
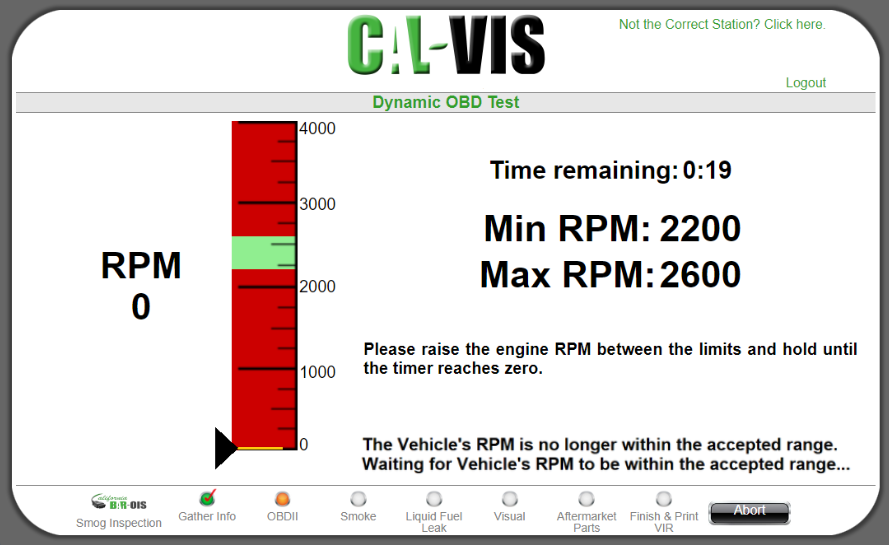
- 3c. Dynamic OBD data collection
Manipulate the Vehicle's RPM so it falls in the acceptable Low RPM range (indicated by the green portion of
the graphic, and also displayed below the graphic).
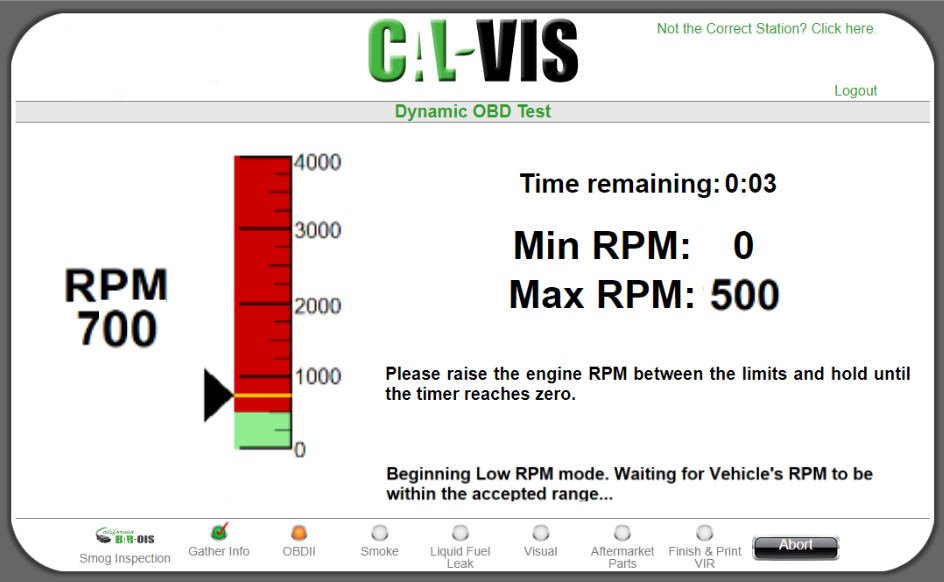
When the Vehicle's RPM is in the appropriate Low RPM range, keep the Vehicle's RPM in the range for the
duration of data collection.
- The amount of time remaining is displayed above the graphic
- The current RPM is displayed to the left of the graphic
- The position of the black triangle on the graphic reflects the current RPM

At the conclusion of Low RPM data collection, the system will determine the required High RPM range.
Manipulate the Vehicle's RPM so it falls in the new displayed range.
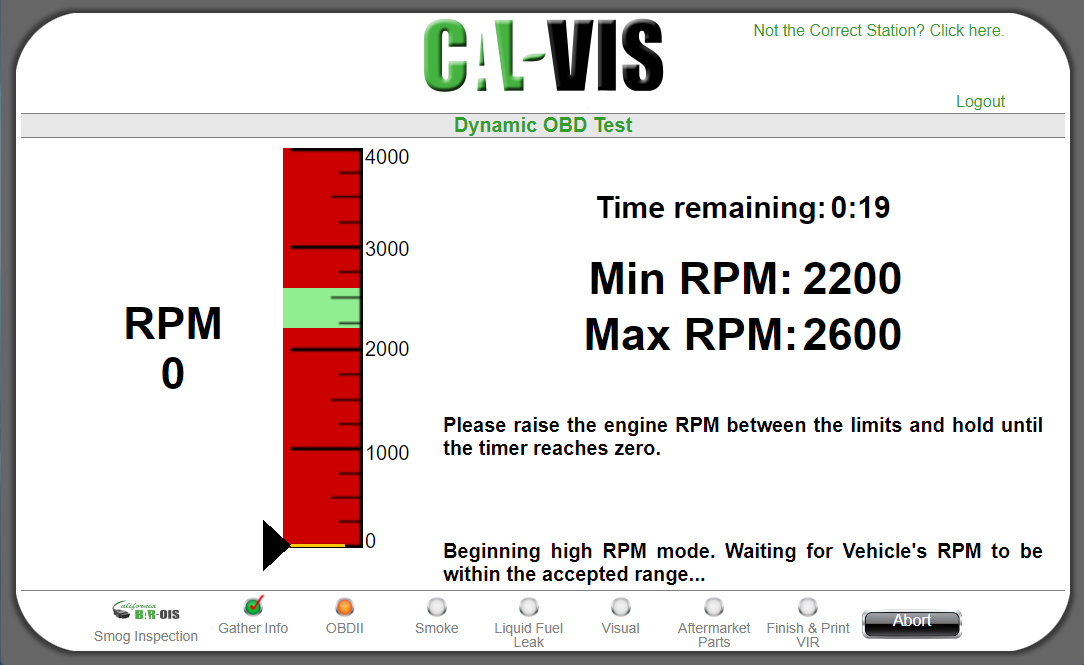
When the Vehicle's RPM is in the appropriate High RPM range, keep the Vehicle's RPM in the range for the
duration of data collection.
- The amount of time remaining is displayed above the graphic
- The current RPM is displayed to the left of the graphic
- The position of the black triangle on the graphic reflects the current RPM
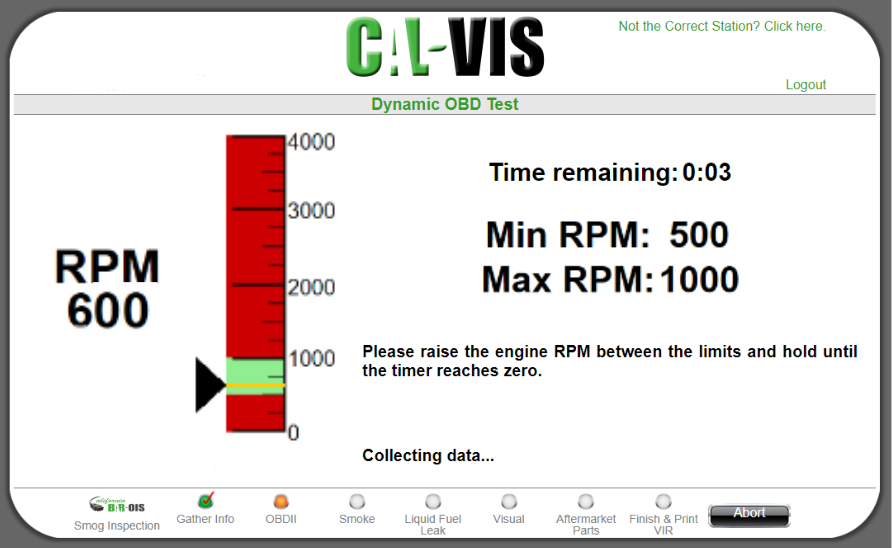
At the conclusion of High RPM data collection, the data collection stops. Proceed to OBD Test Complete.
Note: If the RPM goes above or below the required range, data collection stops and the data collection
begins again once the RPM is in the required range. The timer resets in this case.
Note: If there are problems with the connection from the DAD to the Vehicle during OBD data collection,
and the connection issues cannot be resolved through retrying, the inspection may need to be aborted.
Doing so may lock the DAD and force the DAD to undergo DAD Diagnostics in order to be useable again.
Back to Top
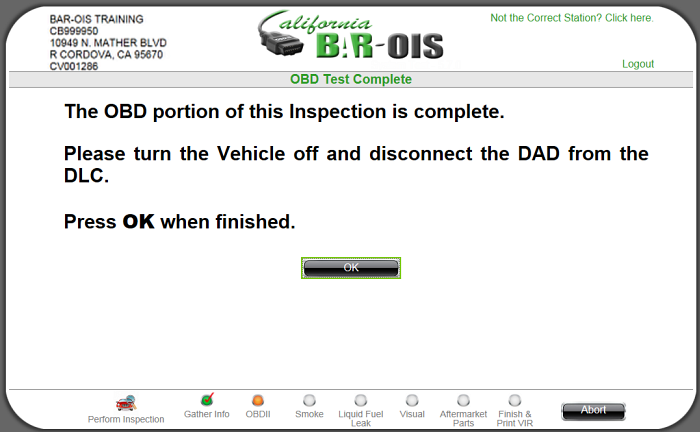
- 3d. OBD Test Complete: Disconnect the DAD from the DLC and then turn the Vehicle off. Click OK to proceed
to Step 4, Smoke Check.
- Smoke Check: Perform the Smoke Check and then select Exhaust System and Crank Case results. Alternatively,
use the keyboard to enter results. For example, press the Tab key to advance fields and press P to enter
a Pass, F to enter a Fail, and so on.
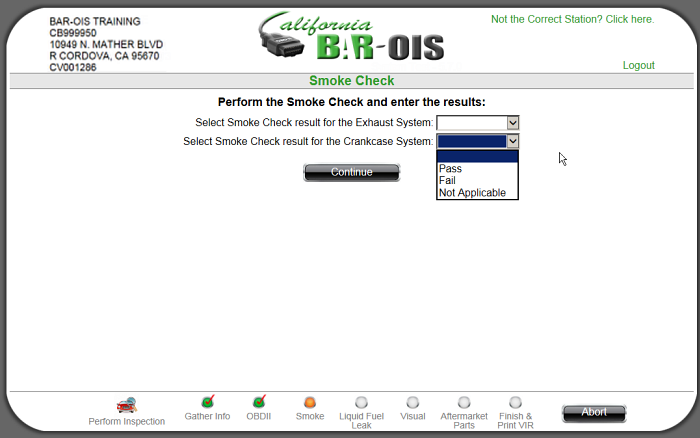
Click Continue to proceed.
Back to Top
- Liquid Fuel Leak Check: Perform the Liquid Fuel Leak Check and then select its result. Alternatively, use the
keyboard to enter results. For example,press the Tab key to advance fields press P to enter a Pass, F to enter
a Fail, and so on.
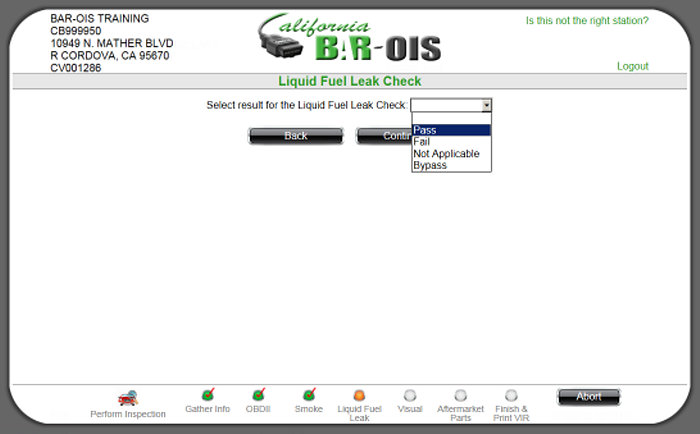
Click Continue to proceed
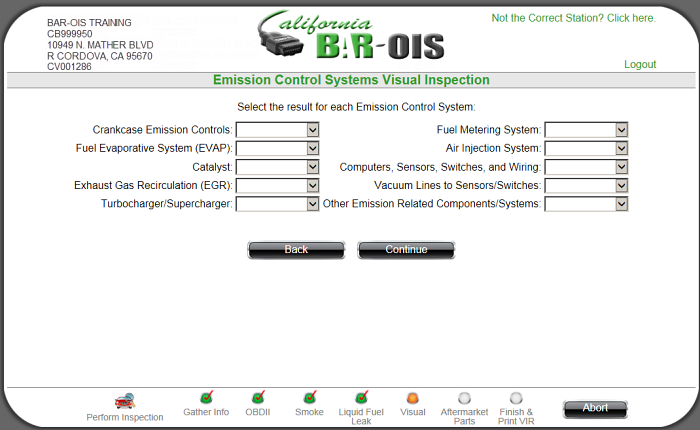
- Emission Control Systems Visual Inspection: Perform visual inspection of the non-diesel or diesel emissions control elements displayed on the screen and then select the associated result. All fields on this screen must be addressed.
Alternatively, use the keyboard to enter results. For example, press the Tab key to advance fields and press P to enter a Pass, T to enter Tampered, and so on.
The following Emission Control Systems Visual Inspection screen is displayed for vehicles with a non-diesel fuel type.
The following Emission Control Systems Visual Inspection screen is displayed for vehicles with a diesel fuel type.
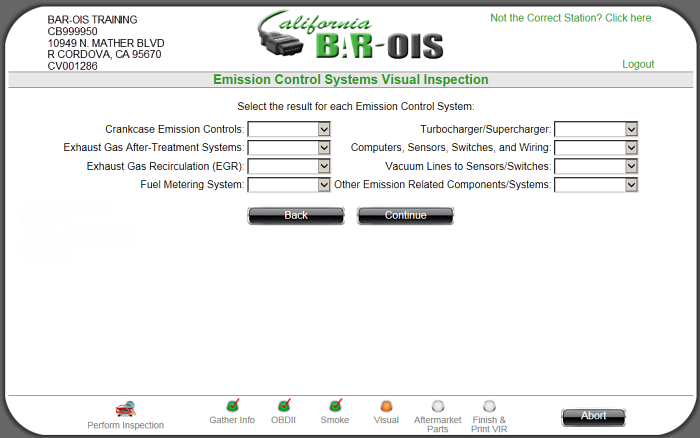
After completing the visual inspection, select Continue to proceed.
Back to Top
- Aftermarket Parts Check: Determine whether the vehicle has aftermarket emissions components installed that
require an Executive Order Number.
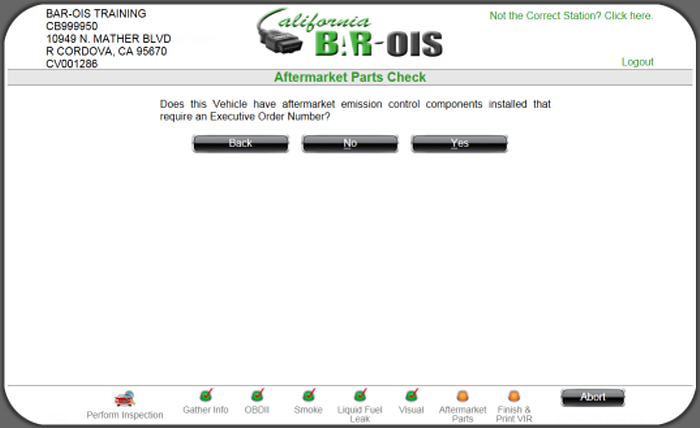
Select one of the following to indicate the result of performing the Aftermarket Parts Check:
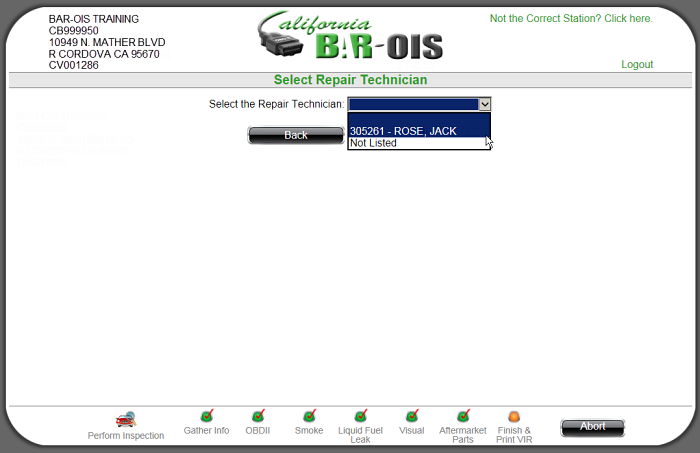
Click Continue after selecting a Repair Technician.
As applicable, the following screens will prompt for repair entry codes. Confirm the Repairs when
repair code entry is complete.
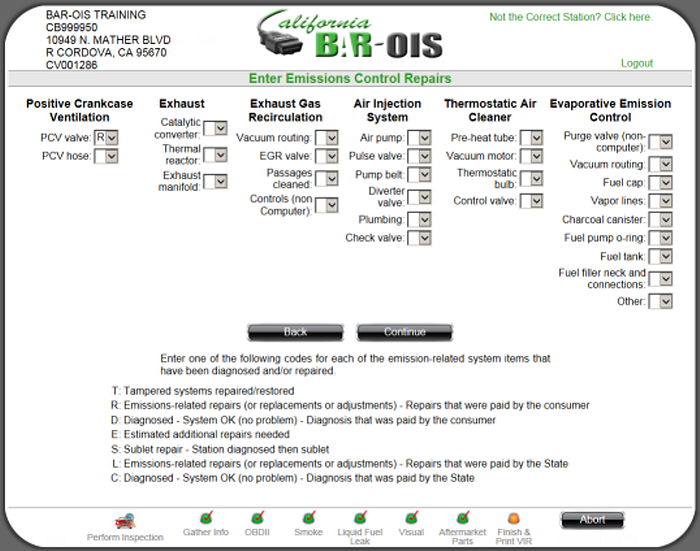
- Select Back to return to the Select Repair Technician screen and revise as needed.
- Enter applicable repair codes and then select Continue to display the next repair code entry screen.
- Enter Fuel and Ignition System Repairs
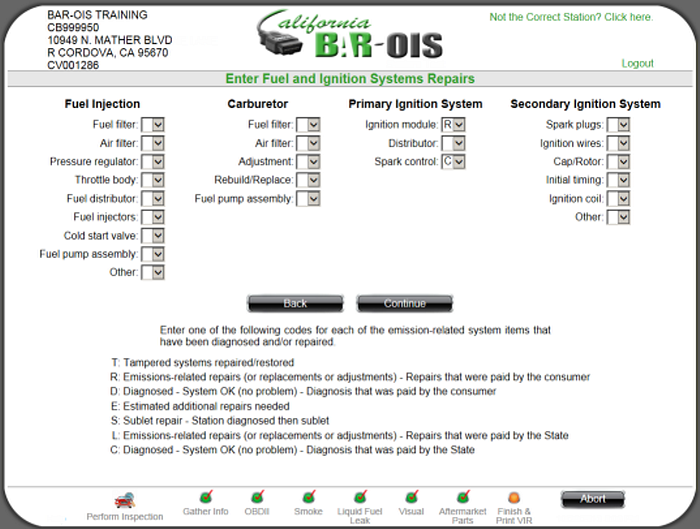
- Select Back to return to the previous repair data entry screen and revise as needed.
- Enter applicable repair codes and then select Continue to display the next repair code entry screen.
- Enter Computer System Repairs
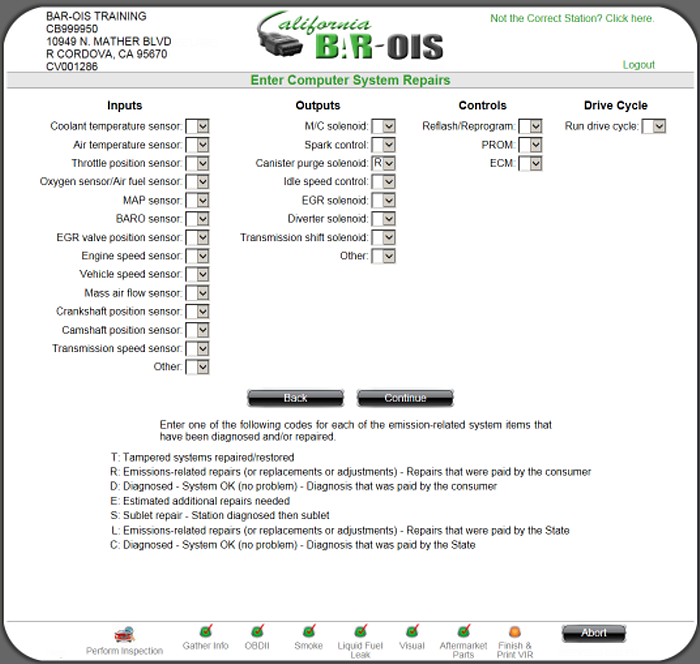
- Select Back to return to the previous repair data entry screen and revise as needed.
- Enter applicable repair codes and then select Continue to display the next repair code entry screen.
- Enter Engine Mechanical Repairs
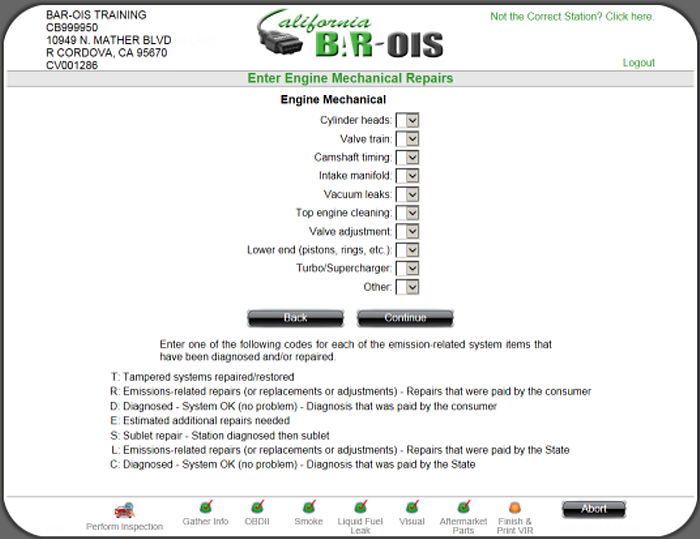
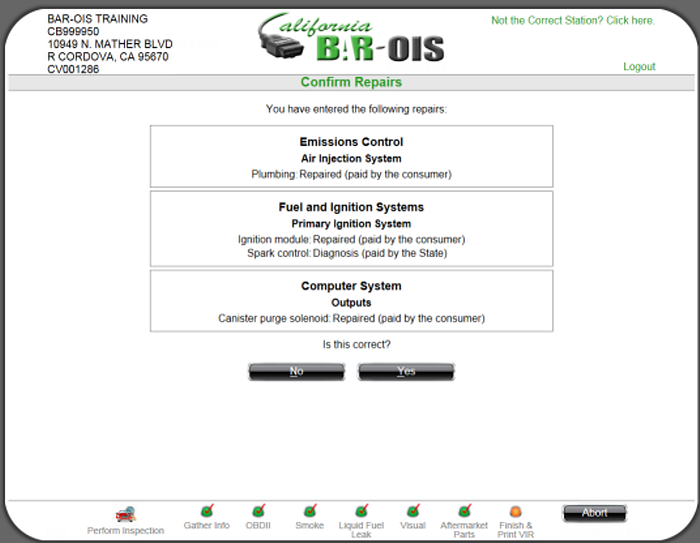
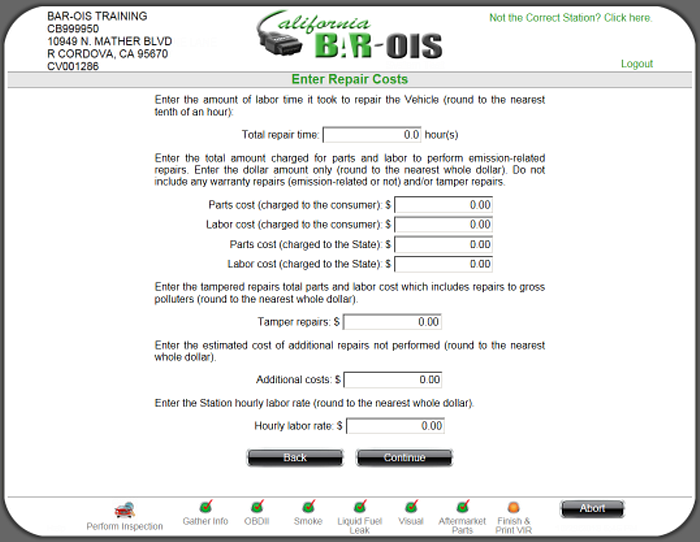
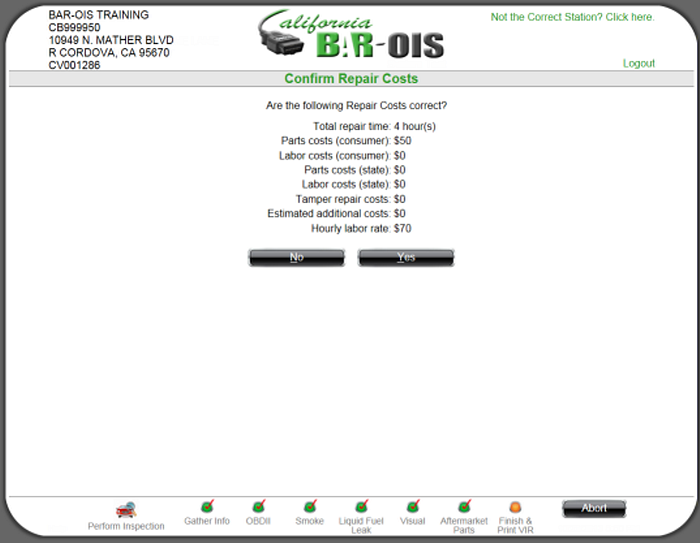
- Select No to return to the Enter Repair Costs screen and revise as needed.
- Select Yes and proceed to:
- Step 8 for a passing smog test
- Step 9 for a failing smog test
Back to Top
- Certificate Issuance: Select whether to issue a Certificate.
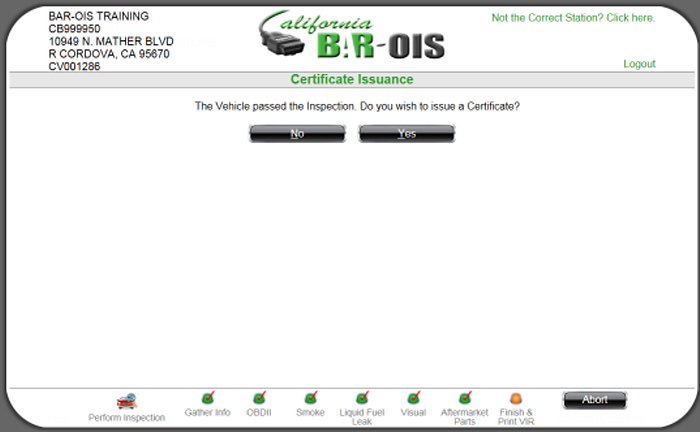
- Select No to indicate no Certificate is to be issued.
- Select Yes to affirm Certificate issuance.
- Regardless of Certificate issuance, to complete an Inspection, the same user who began the Inspection,
must re-authenticate. The system will display the User Authentication screen. Scan your palm.

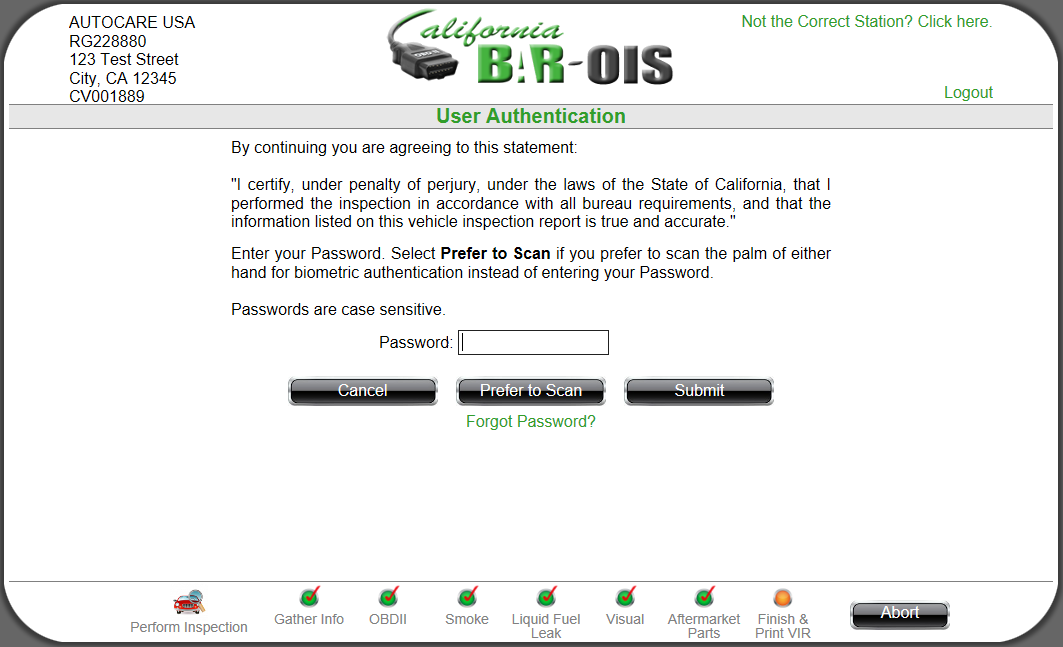
- The following User Authentication screen is displayed if you are Unable to Scan. Follow the screen
instructions to enter your Password and then click Submit.
- Upon successful re-authentication, the Smog Check Results screen is displayed. Proceed to Step 9.
- Smog Check Results: Optionally enter comments. The following is an example of Smog Check Results that
indicate an Overall Test result: Pass.
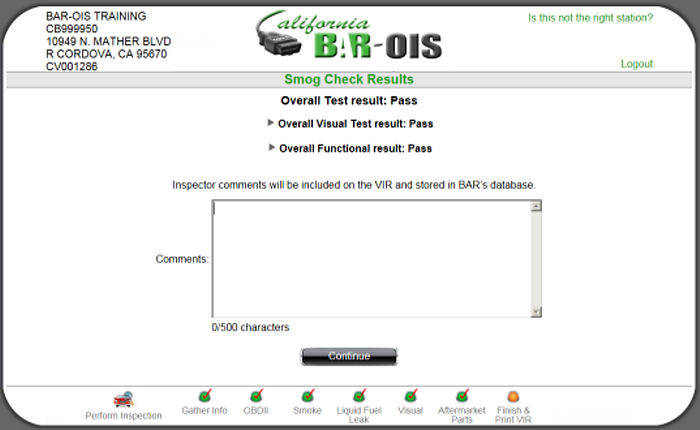
Click Continue to proceed.
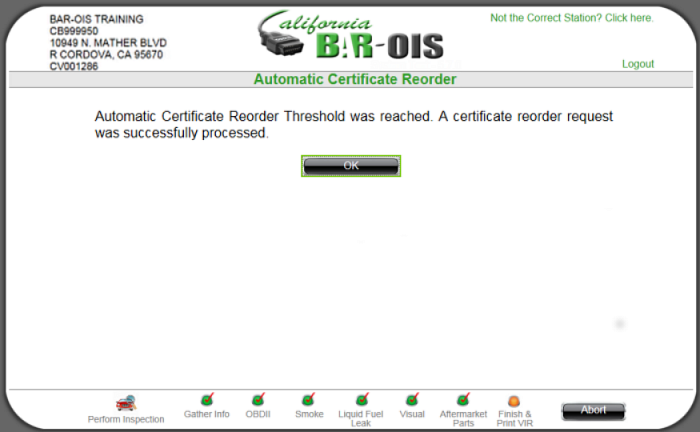
Click OK to display the Electronic Certificate Purchase Receipt.
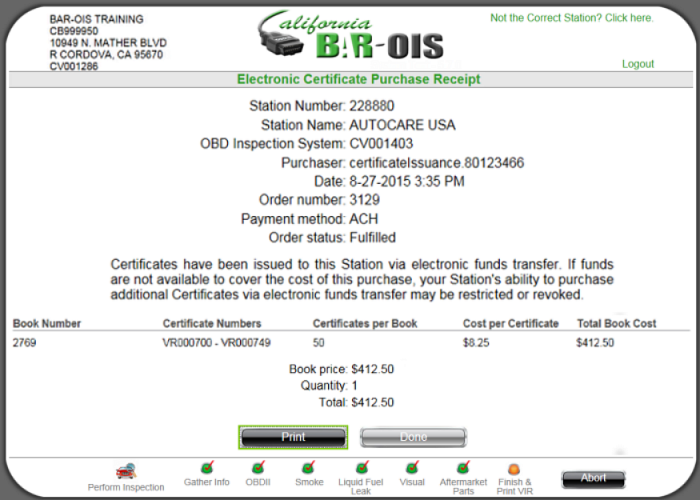
- Select Print to print the receipt.
- Select Done to proceed to Step 10.
- Print VIR: The VIR reflects results of the inspection. The VIR Certification Type field will reflect the type selected
on the Certification Type screen..
Print is the only active option in the initial VIR view. Select Print to print the VIR.
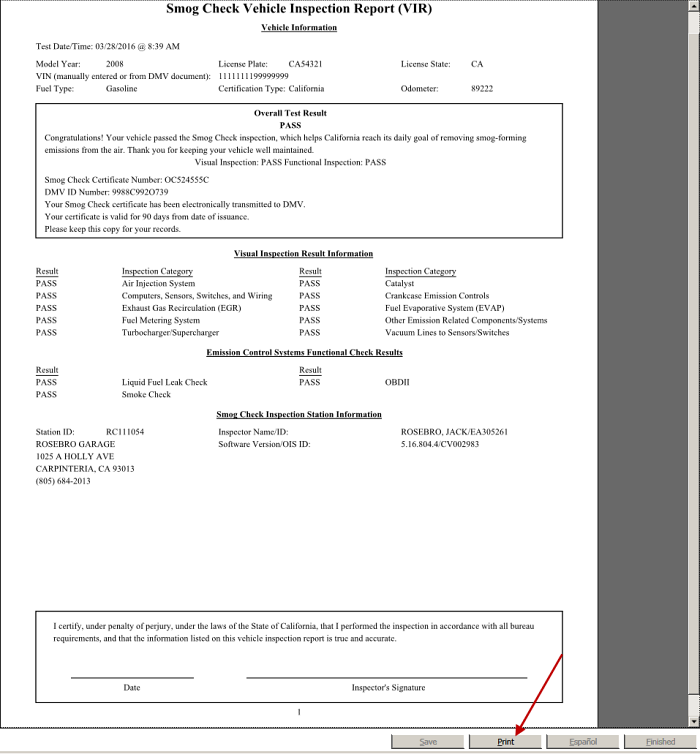
After print, the VIR redisplays with additional active options:
- Click Save to locally save the VIR as a PDF. Specify the PDF location via the displayed prompt.
- Click Espanol to convert VIR content to Spanish and enable subsequent print
- Click Finish to indicate the inspection is complete and to return to the Main Menu.
Add the Date and Inspector Signature to the printed version.
Back to Top