This topic describes the following:
Use the following screens to enter prerequisite vehicle information.
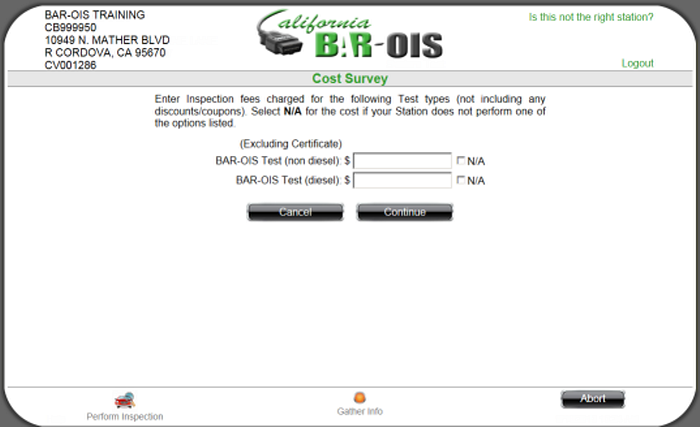
- Cost Survey: If the Cost Survey screen does not appear, proceed to Step 2. If the Cost Survey screen does
appear, enter inspection fees per the screen instructions and then select Continue.
- Scan Vehicle VIN: This screen appears while the system is waiting for the inspector to scan the VIN.
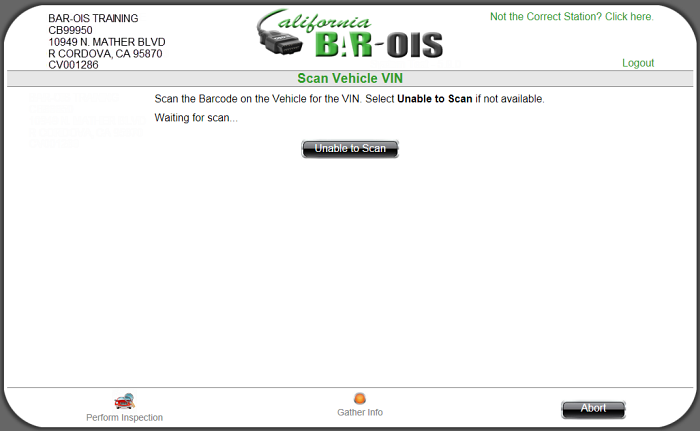
Note: 2D bar code scanning is accepted for the Vehicle VIN scan. If the vehicle has 2D bar codes and your
station has a 2D capable bar code scanner, please try the VIN scan. Otherwise, click Unable to Scan and scan
the DMV Registration Document if one is available, or click Unable to Scan and enter the VIN manually.
If any error messages appear on the screen, retry the VIN scan.
Click Unable to Scan to manually enter the VIN. Or click Abort to end the test.
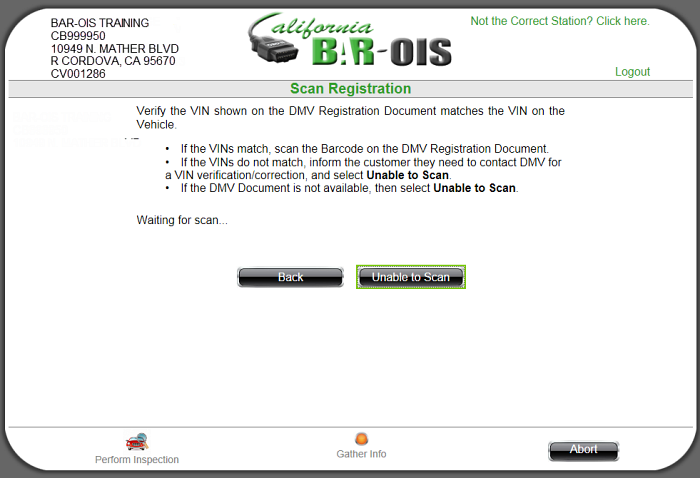
- The Scan Registration screen is displayed. Follow the screen instructions.
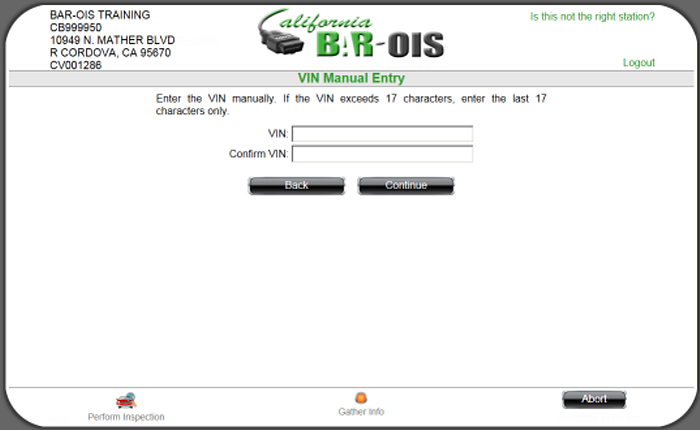
The VIN Manual Entry screen is displayed If Unable to Scan is selected on the Scan Registration screen.
Manually enter the VIN in the VIN and Confirm VIN fields. Click Continue to proceed.
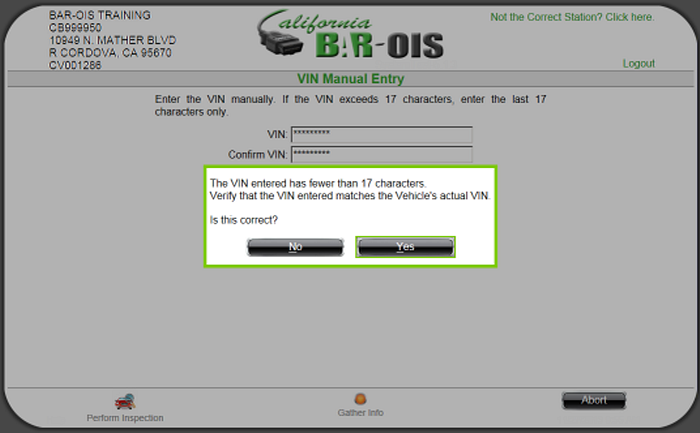
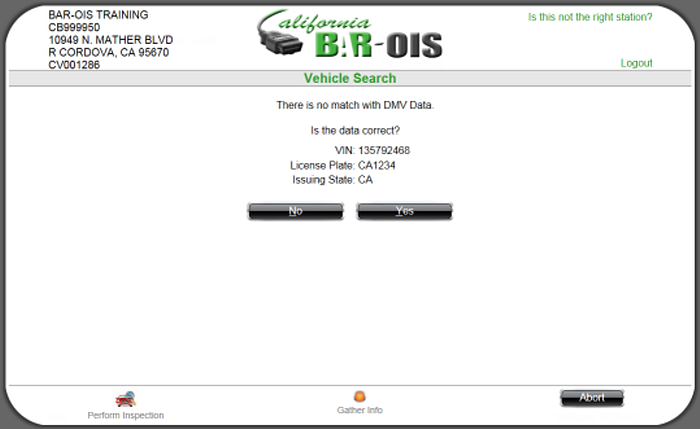
- Select No to return to the previous screen and re-enter the VIN.
- Select Yes to proceed to the License Plate Manual Entry screen in Step 4.
Back to Top
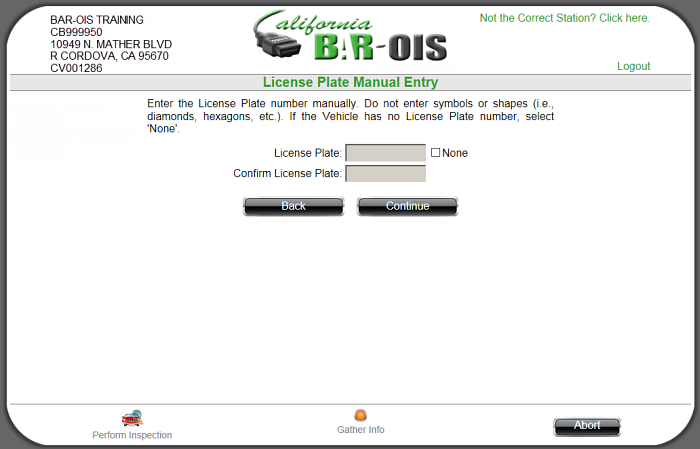
- License Plate Manual Entry. Manually enter the license plate in the License Plate and
Confirm License Plate fields or select None if the Vehicle has no License Plate. Note that entry of license plate symbols or shapes is not allowed..
Click Continue to proceed.
- Select the License Plate Issuing State. California is the default. Click the drop-down to select a different
state from the displayed list.
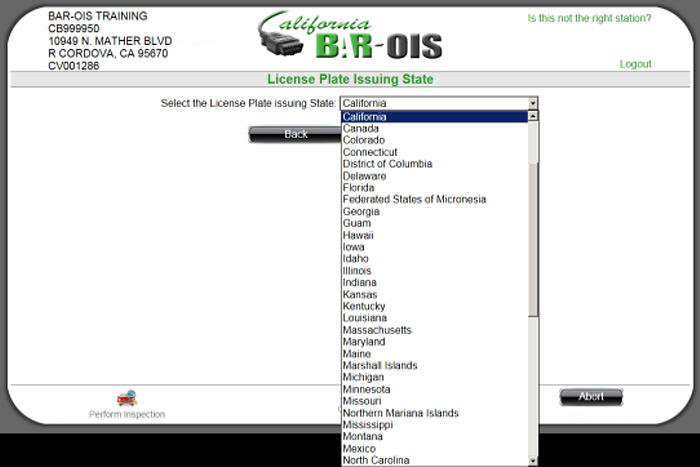
Click Continue to proceed. The selected State name populates the screen.
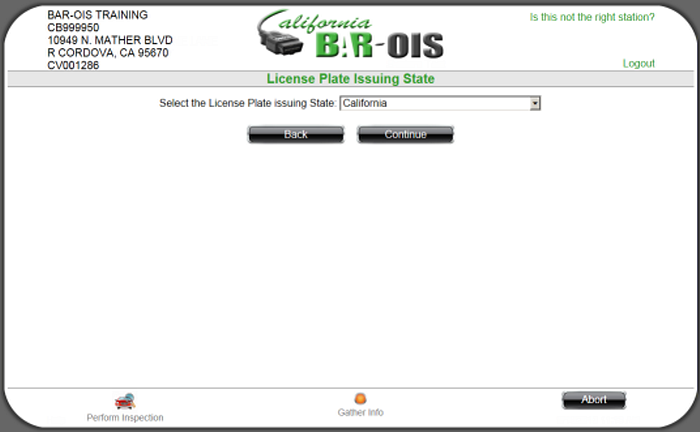
Click Continue to proceed..
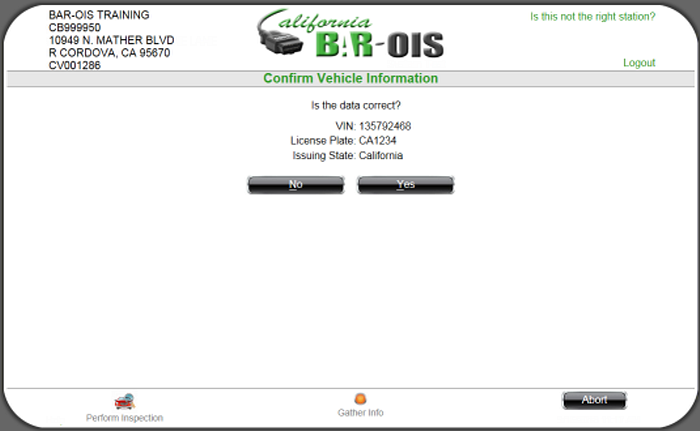
- Confirm Vehicle Information. Click Yes if correct. Click No to return to the Scan Vehicle VIN screen and
re-enter vehicle information.
Back to Top
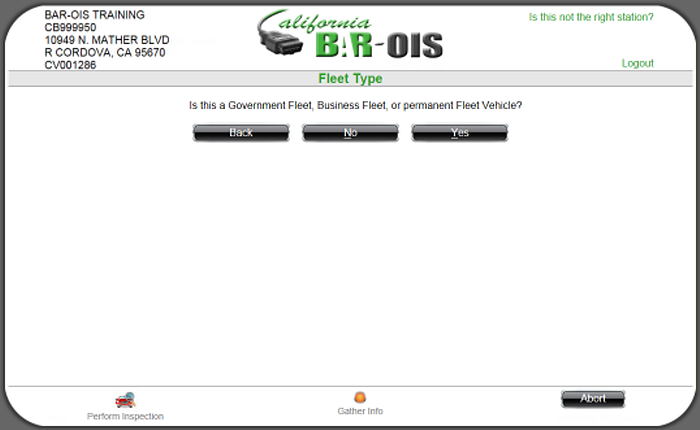
- The Fleet Type screen is displayed if Yes was selected on the preceding Confirm Vehicle Information screen.
Select Back to return to the previous screen. Select No or Yes to indicate whether the vehicle is in one of the
displayed Fleet Type categories.
Note: If retesting a previously failed vehicle inspection, the Prior Results screen will display after
completing the selections on the Fleet Type screens.
The Model Year screen will then be displayed. Proceed to Step 8.
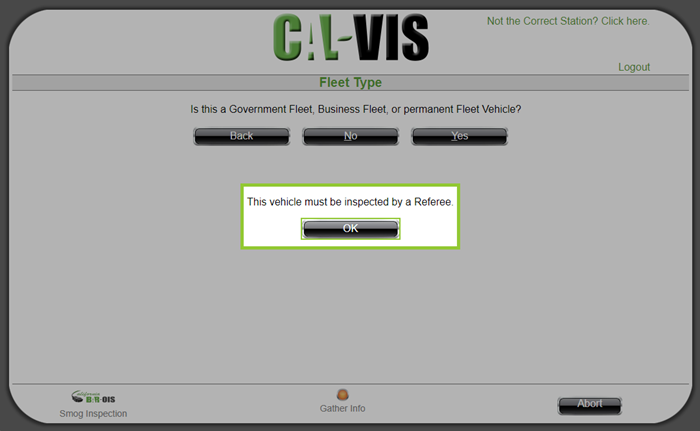
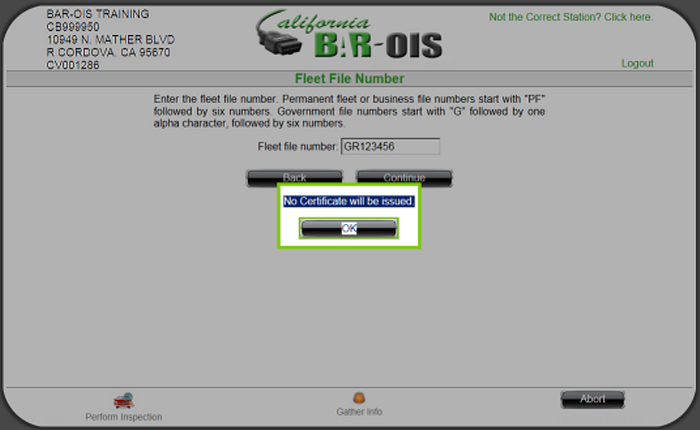
Click OK to acknowledge that This vehicle can only be certified by a Referee and return to the Main Menu.
Click OK to display the Model Year screen. Proceed to Step 8.
-
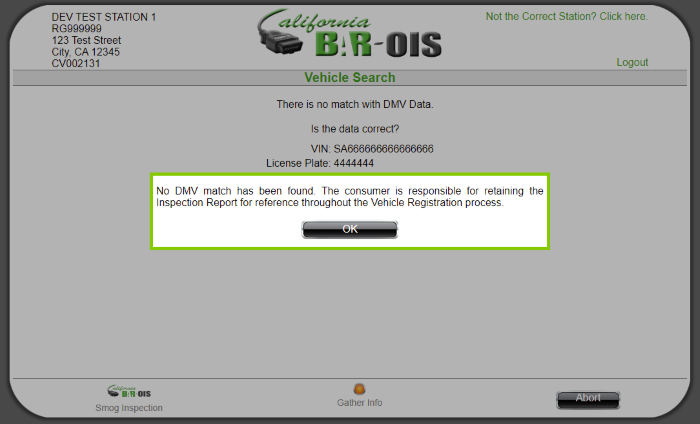
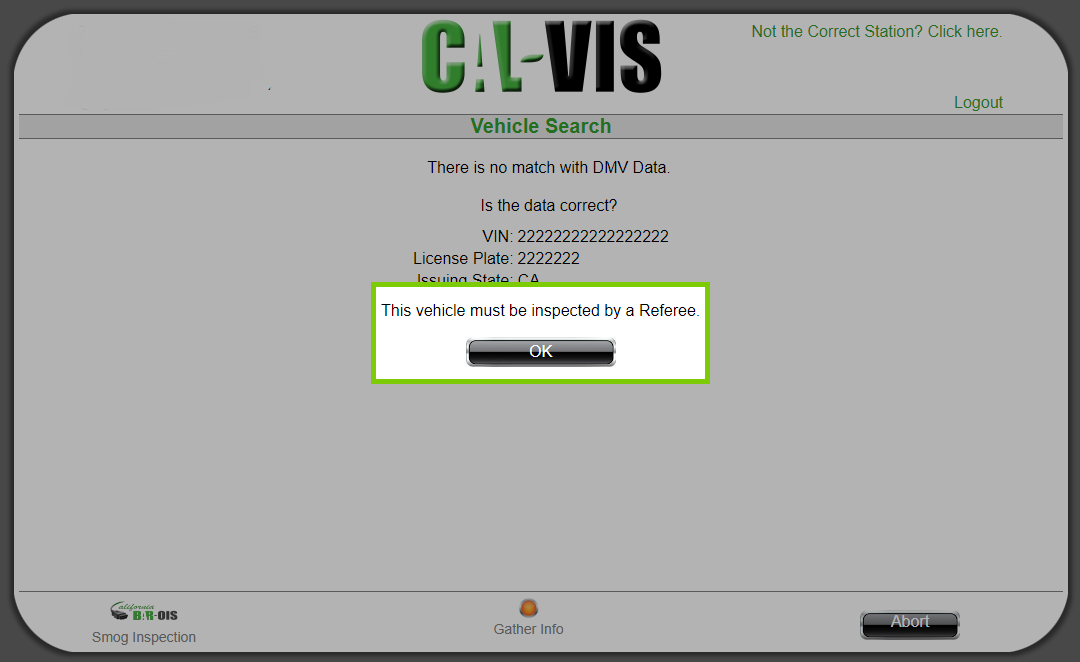
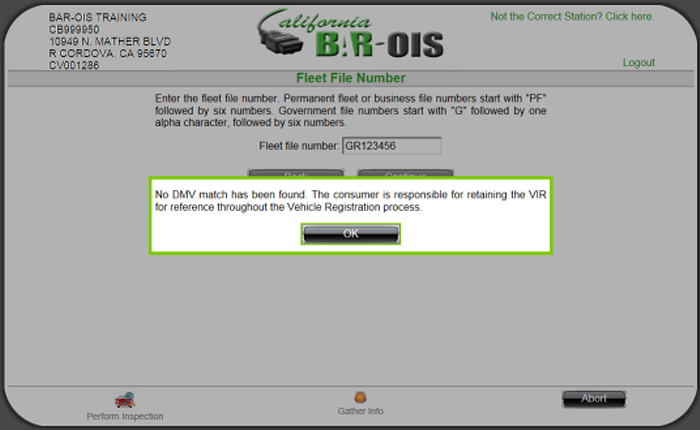
If the system detects a previously failed OBD Data Profile check and a DMV information mismatch is also detected, the following notification is displayed.
Click OK to acknowledge that This vehicle can only be certified by a Referee and return to the Main Menu.
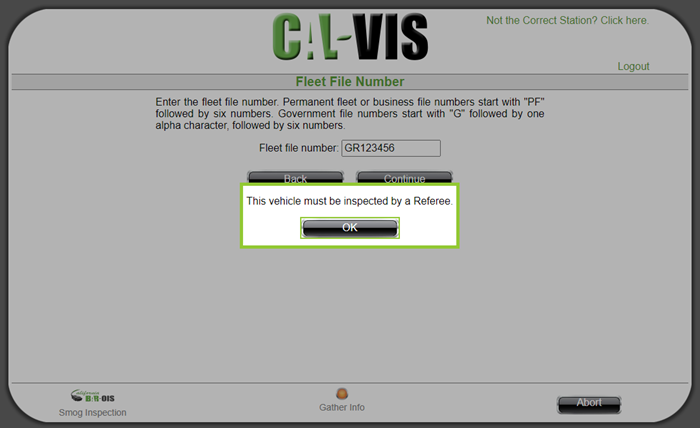
Click OK to acknowledge that This vehicle can only be certified by a Referee and return to the Main Menu.
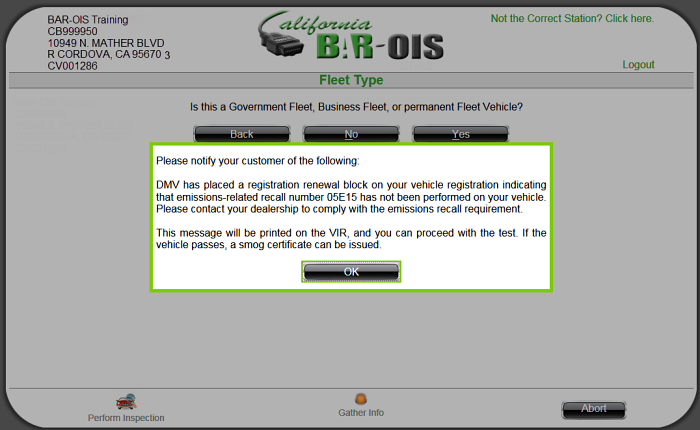
The preceding message will appear on the VIR along with motorist notification to comply with the vehicle recall requirement.
Click OK to proceed to Step 8.
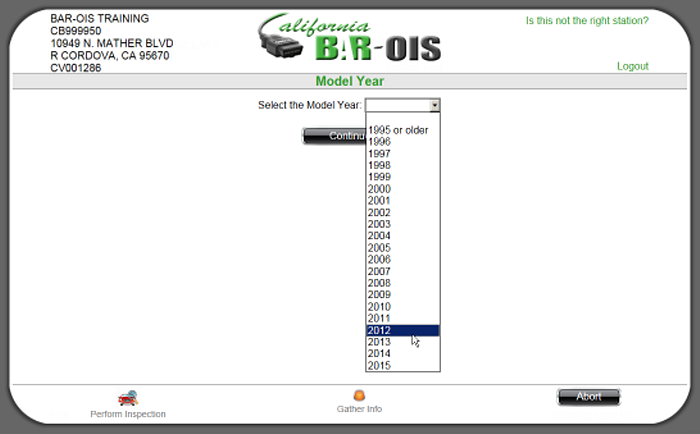
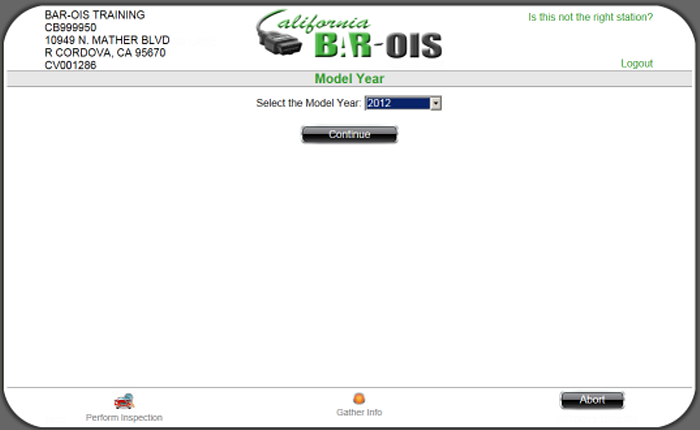
- Model Year: Select the vehicle Model Year from the drop-down list. Click Continue to proceed.
The screen reflects the selected Model Year.
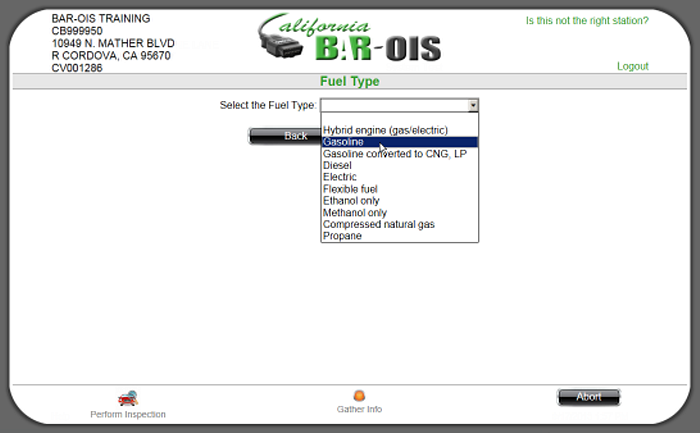
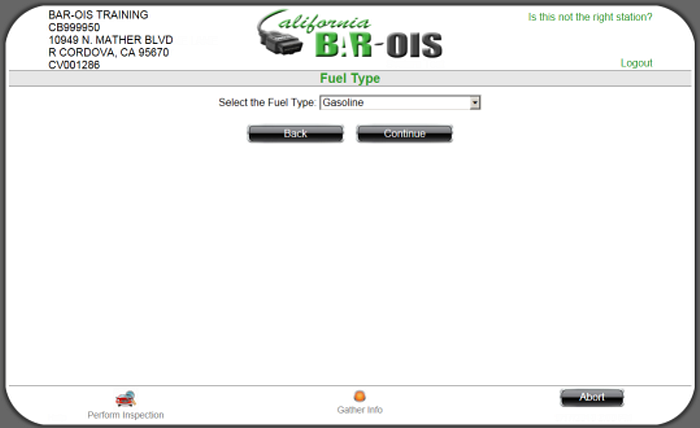
- Select the vehicle Fuel Type from the drop-down list. Click Continue to proceed.
The screen reflects the selected Fuel Type.
If the inspected vehicle's Model Year is older than the current year minus three, proceed to Step 11.
Back to Top
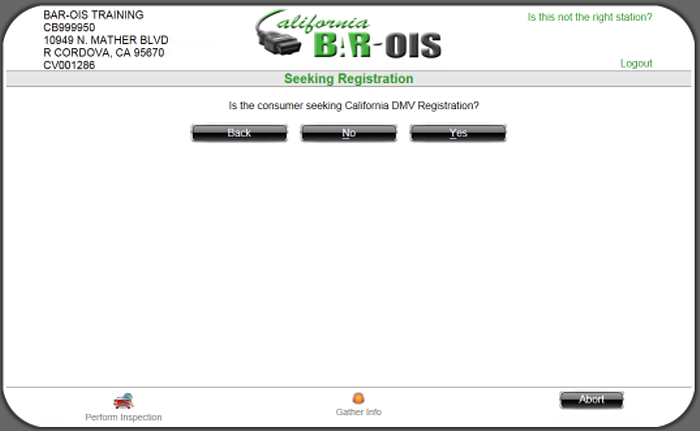
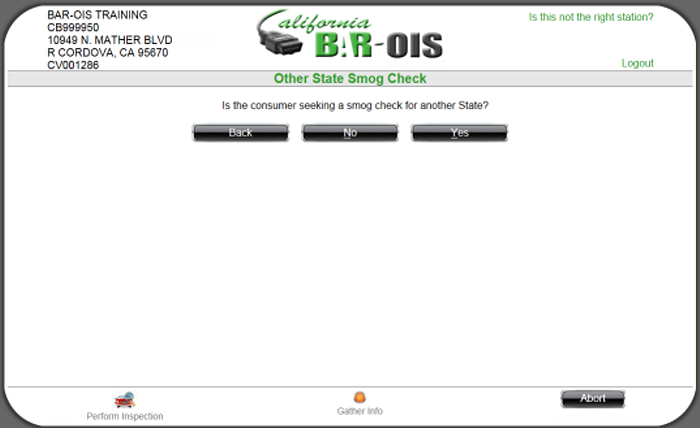
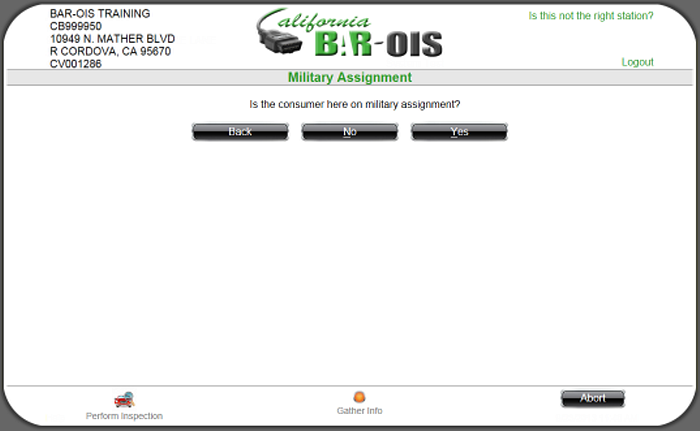
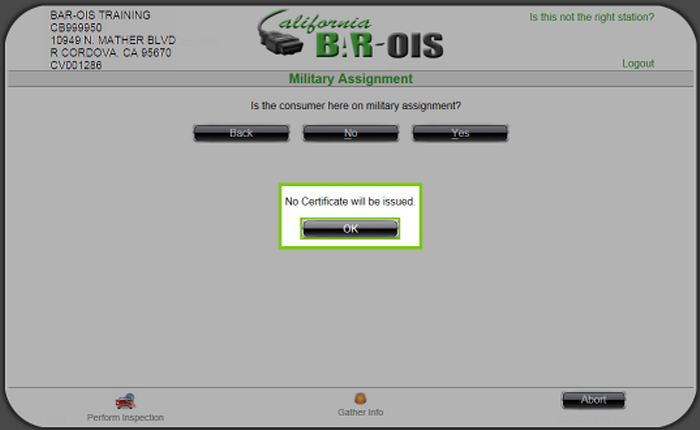
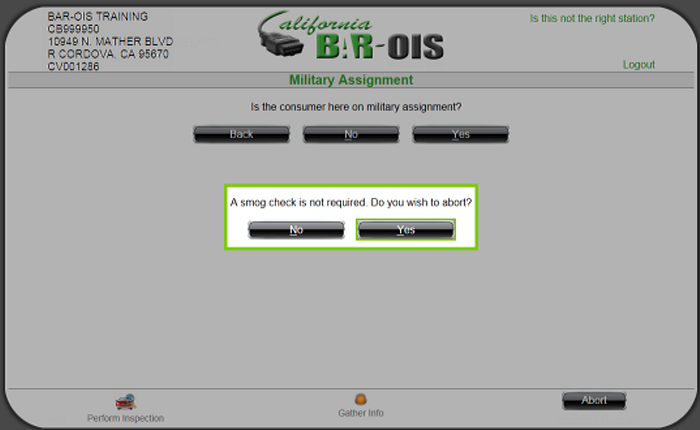
- If testing is not required for the vehicle, one of the following screens will be displayed.
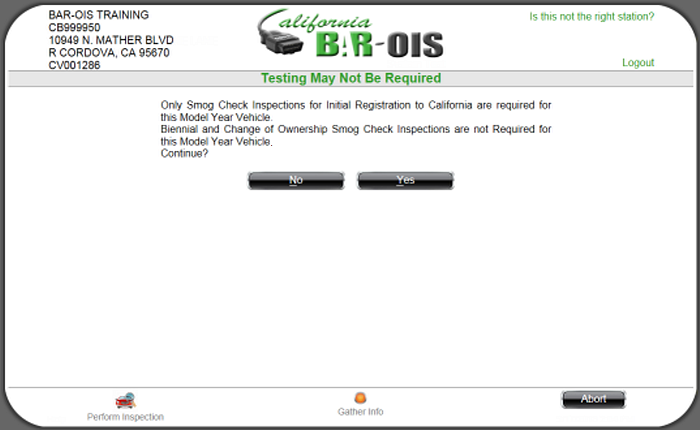

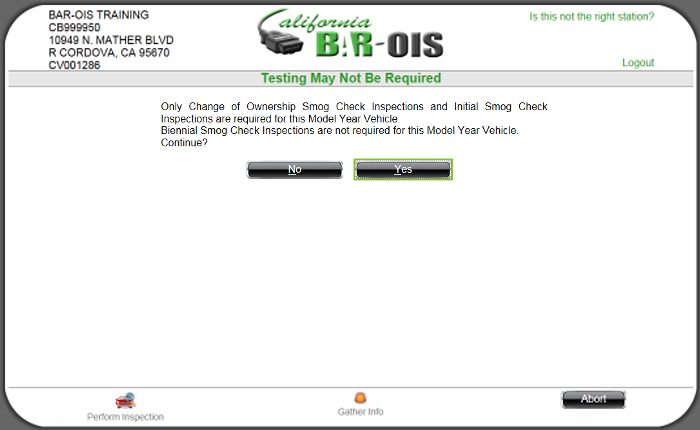
- Select No to abort the test and return to the Main Menu.
- Select Yes to continue the inspection and display the Certification Type screen.
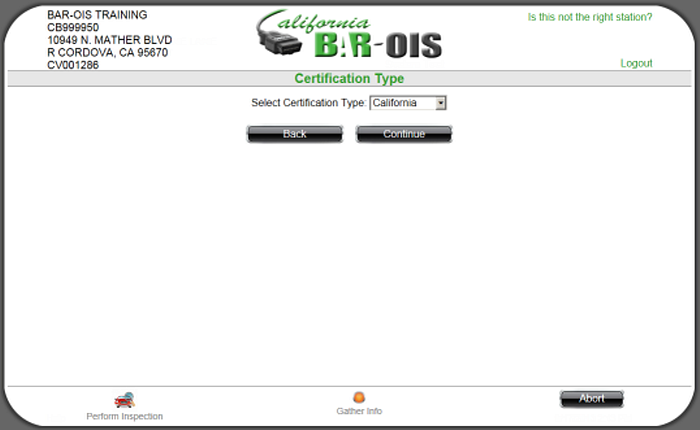
- Certification Type: Select a Certification Type from the drop-down list.
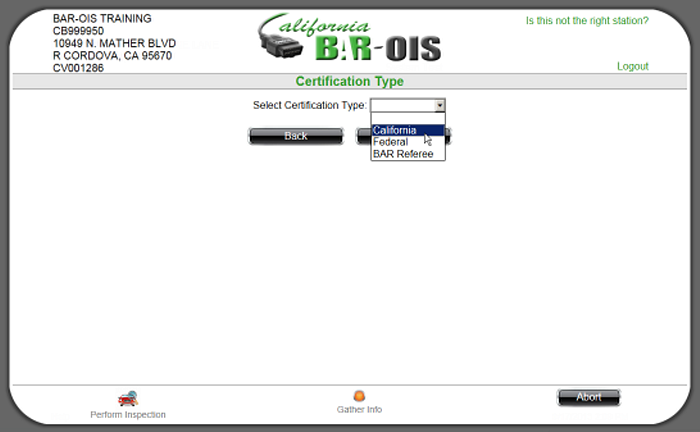
The screen reflects the selected Certification Type.
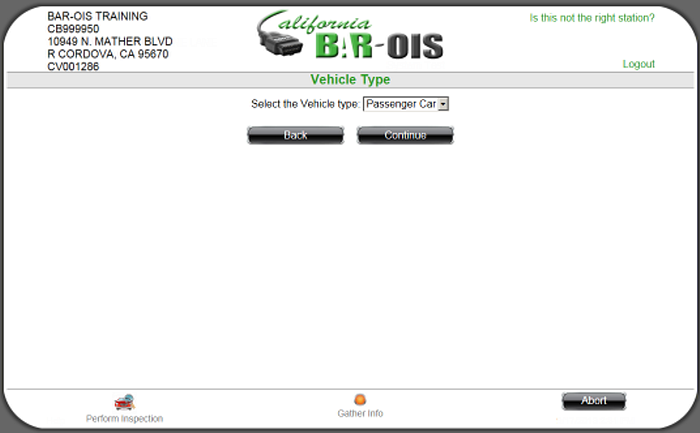
- Vehicle Type: Select the Vehicle type from the drop-down list. Click Continue to proceed.
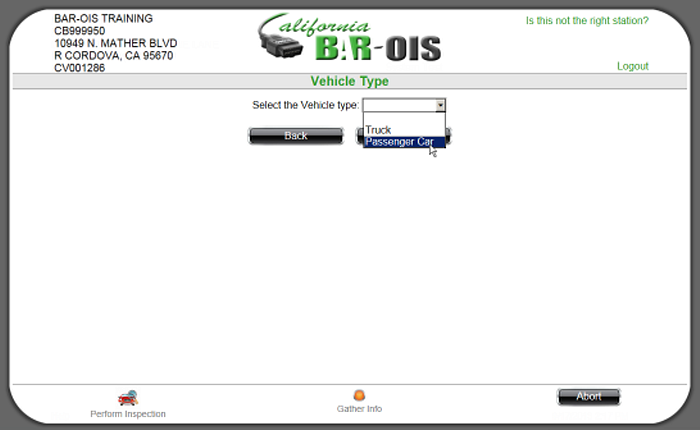
The selected Vehicle Type is reflected on the screen.
Click Continue to proceed to the Engine Family Test Group screen as in Step 13.
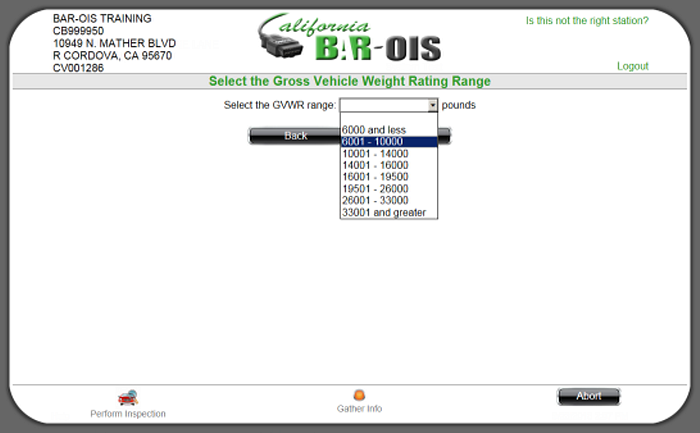
The selected GVWR range is reflected on the screen.
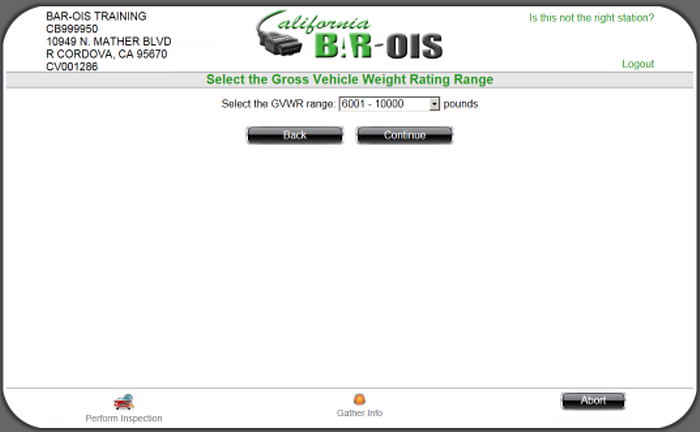
Click Continue to proceed to the Engine Family Test Group screen.
- Enter the vehicle's Engine Family Test Group exactly as it appears on the Vehicle Emission Control Information (VECI). Select None only if the VECI is missing or unreadable.
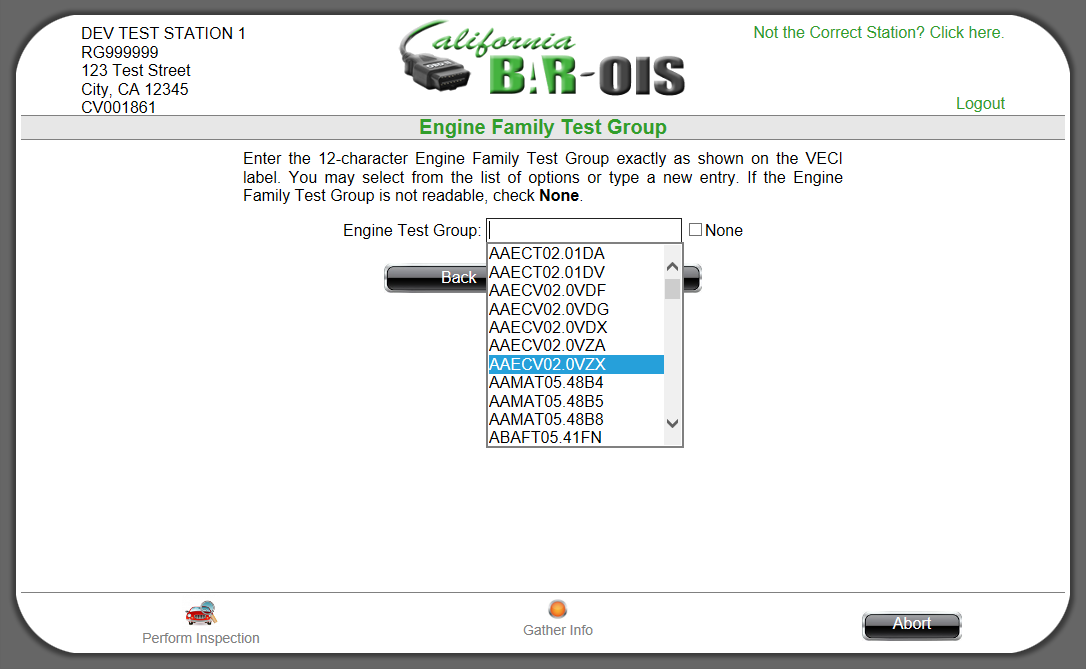
The selected Engine Family Test Group is reflected on the screen.
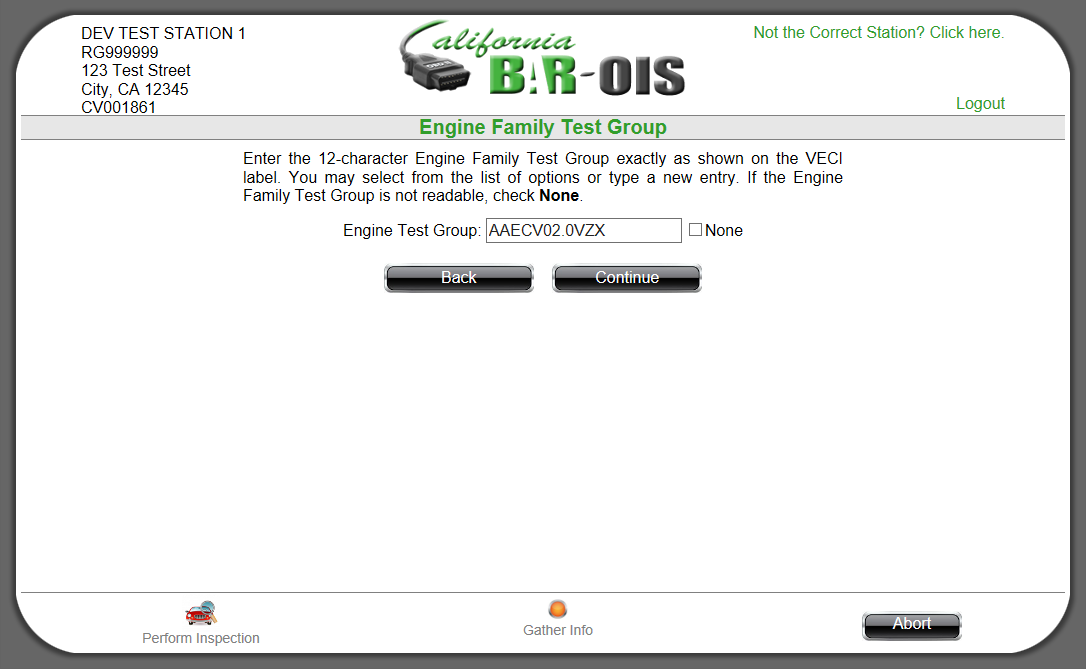
Click Continue to proceed to the Odometer screen in Step 14. If a VIR is produced as a result of this inspection and emission warranty information is available for this Engine Family Test Group, that warranty information will be printed on the VIR.
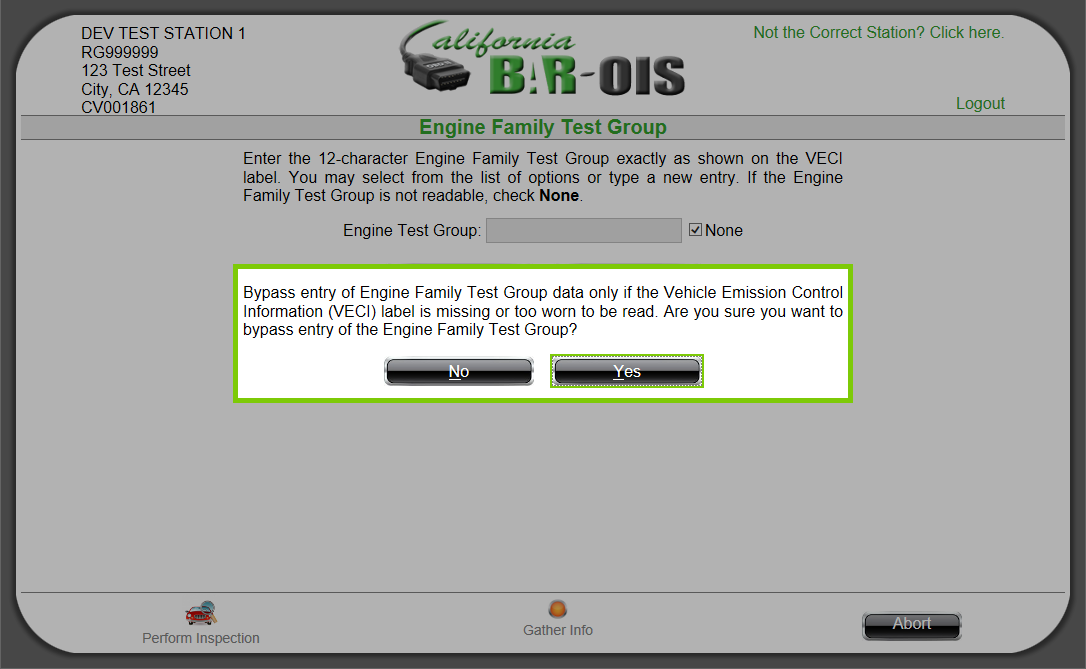
- Select No to return to the Engine Family Test Group screen and re-enter the Engine Family Test Group.
- Select Yes to confirm bypass of entry for Engine Family Test Group and proceed to the Odometer screen.
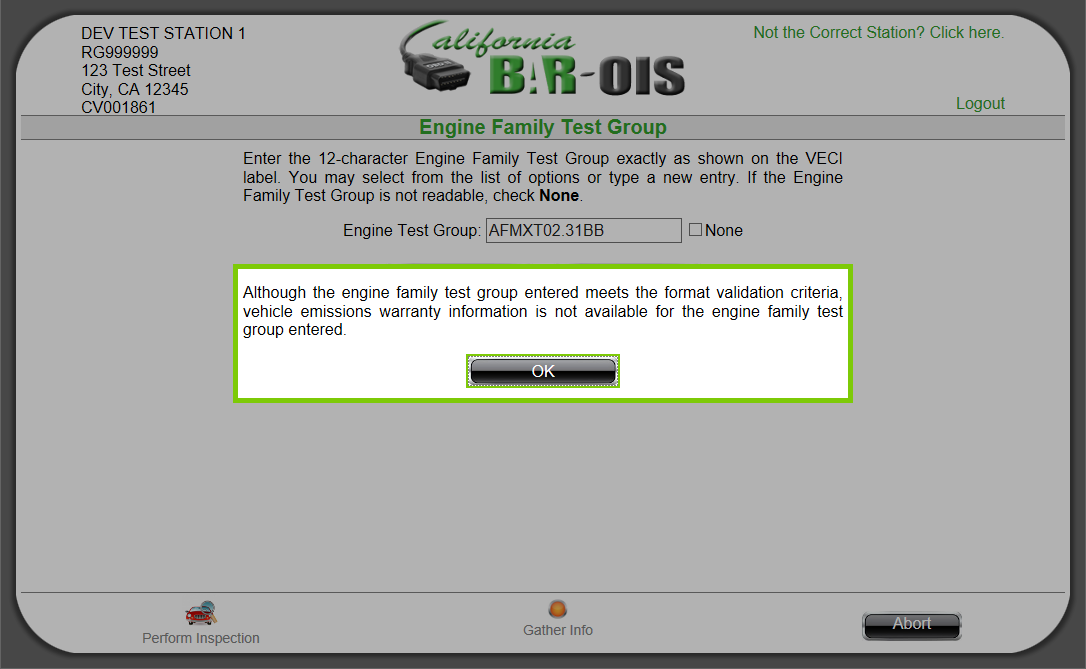
- Select OK to acknowledge the message and proceed to the Odometer screen.
- Odometer: Enter the vehicle's Mileage. Select None if applicable.
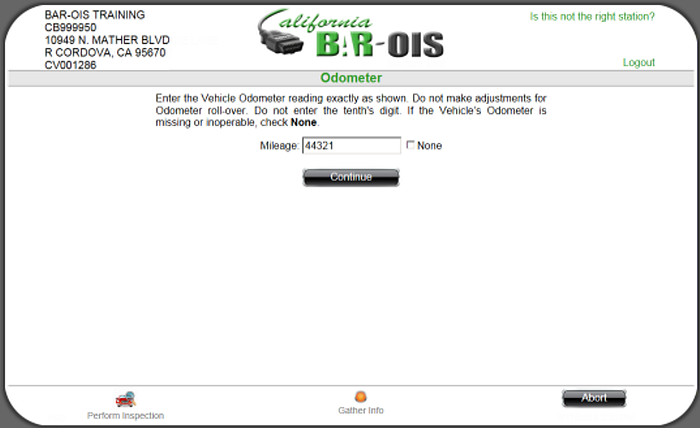
Click Continue to proceed.
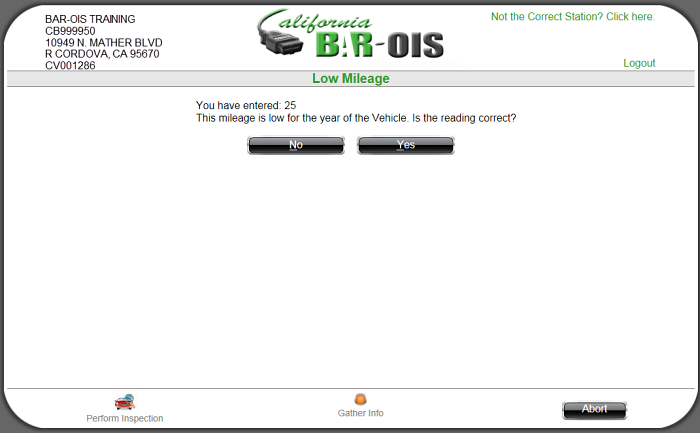
- Select No to return to the Odometer screen and re-enter the Mileage.
- Select Yes to confirm the entered Mileage and proceed to the Confirm Vehicle Data screen.
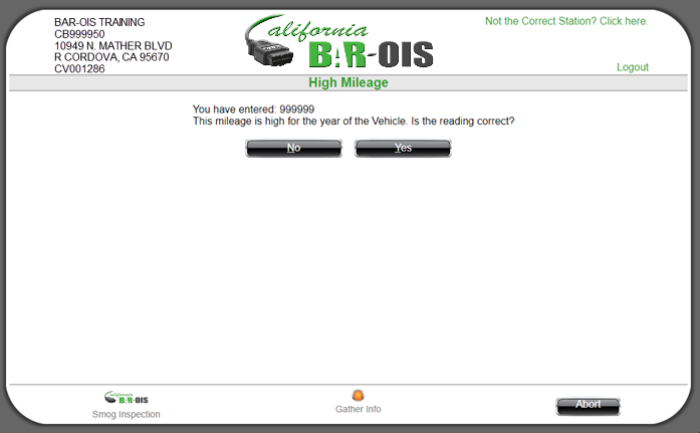
- Select No to return to the Odometer screen and re-enter the Mileage.
- Select Yes to confirm the entered Mileage and proceed to the Confirm Vehicle Data screen.
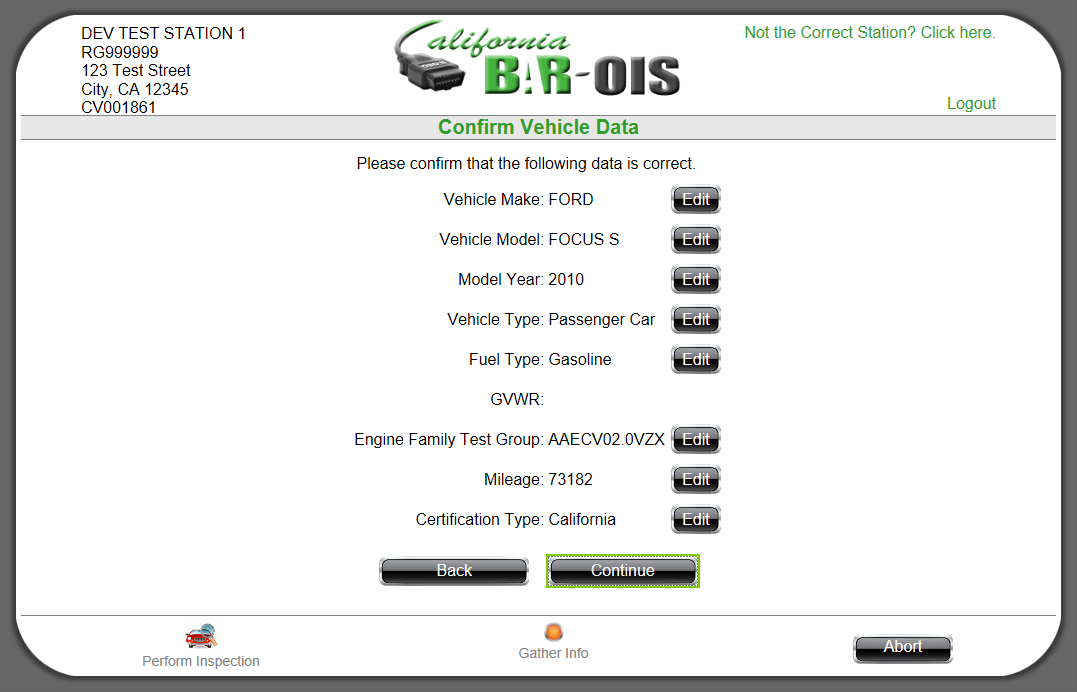
- Confirm Vehicle Data: Review the displayed vehicle data for accuracy. Click Edit to display the associated data entry
screen and revise as needed. The Confirm Vehicle Data screen is redisplayed when editing is completed.
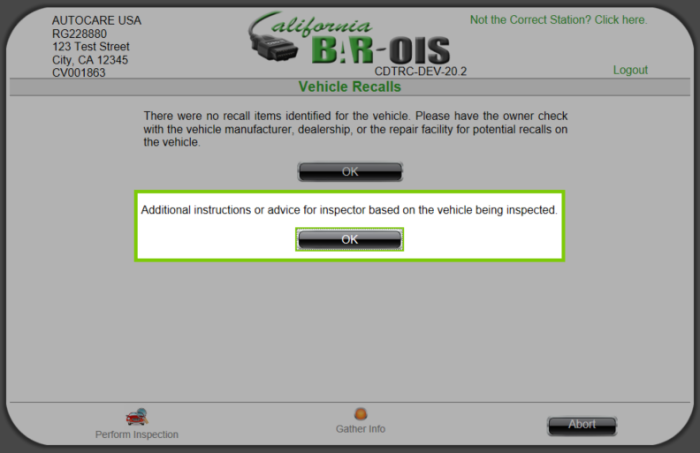
- Review Vehicle Recall Data
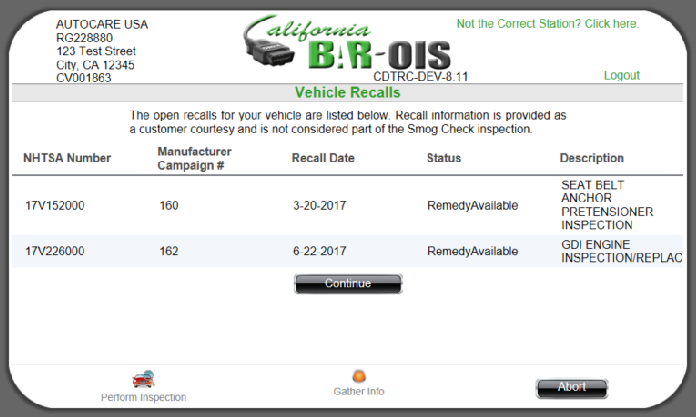
The Vehicle Recalls screen is displayed with a message that no recall items were identified for the vehicle when no recall items are found.

- Review Additional Instructions or Advice
If there is any additional information or advice regarding the vehicle being tested a notification will be displayed.
Back to Top
- Click OK to proceed to Performing the Inspection.

