Safety Systems Vehicle Data Entry
Previous Topic  Next Topic 

This topic describes the following:

  1. Step 1. Scan Vehicle VIN
  2. Step 2. Scan Registration
  3. Step 3. License Plate Manual Entry
  4. Step 4. License Plate Issuing State
  5. Step 5. Confirm Vehicle Information


Use the following screens to enter prerequisite vehicle information.
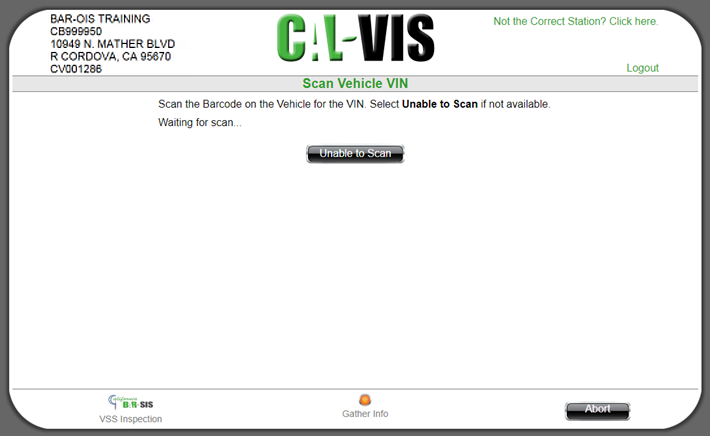

  1. Scan Vehicle VIN: This screen appears while the system is waiting for the inspector to scan the VIN.

If any error messages appear on the screen, retry the VIN scan.

Click Unable to Scan to manually enter the VIN. Or click Abort to end the test.
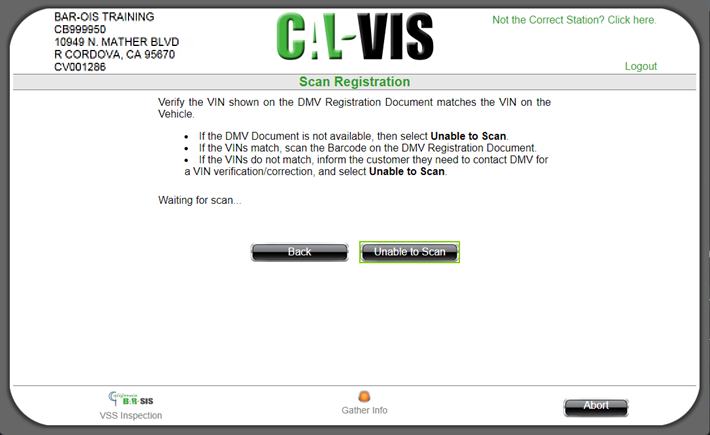
  1. The Scan Registration screen is displayed. Follow the screen instructions.

The VIN Manual Entry screen is displayed If Unable to Scan is selected on the Scan Registration screen.

Manually enter the VIN in the VIN and Confirm VIN fields. Click Continue to proceed.
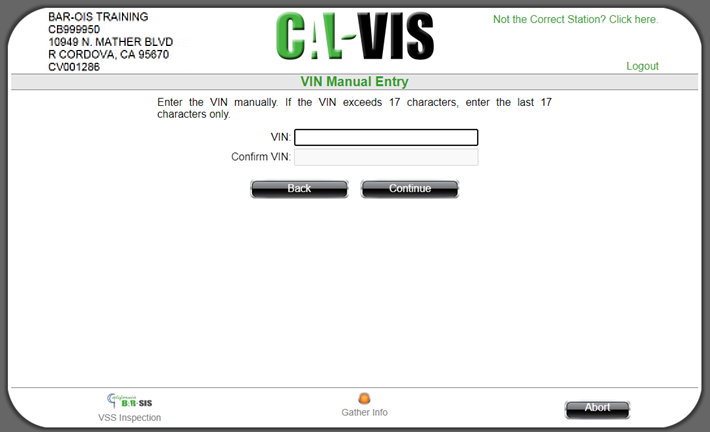
  • If the entered VIN consists of 17 characters, the License Plate Manual Entry screen in Step 3 is displayed.
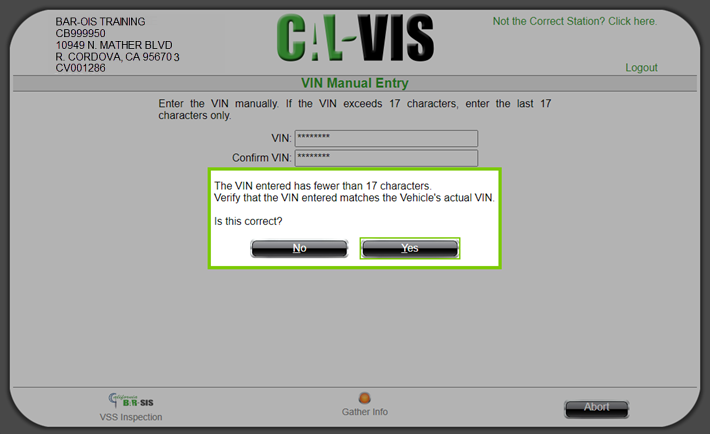
  • If the entered VIN is fewer than 17 character, the following verification prompt displays.
  • Select No to return to the previous screen and re-enter the VIN.
  • Select Yes to proceed to the License Plate Manual Entry screen in Step 3.
  • Back to Top

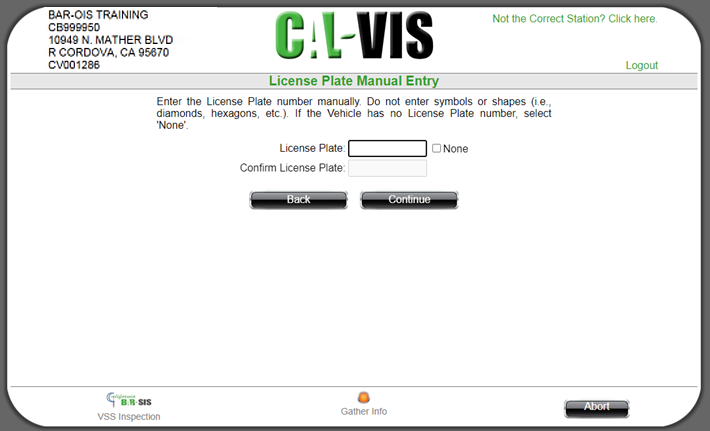
    1. License Plate Manual Entry. Manually enter the license plate in the License Plate and Confirm License Plate
      fields or select None if the Vehicle has no License Plate. Note that entry of license plate symbols or shapes is not allowed.
      Click Continue to proceed.

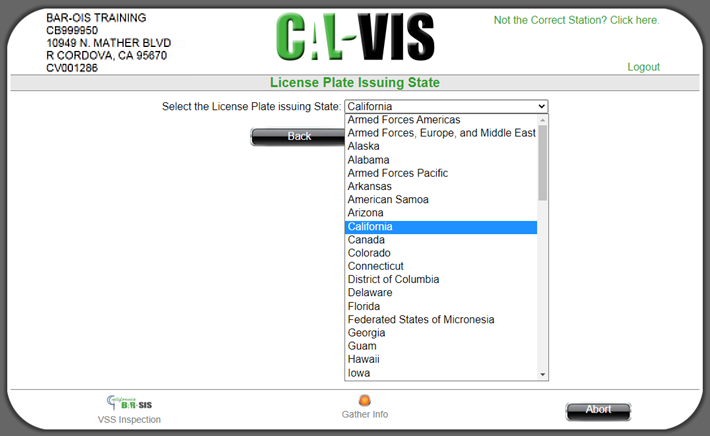
    1. Select the License Plate Issuing State. California is the default. Click the drop-down to select a different state from the displayed list.

    Click Continue to proceed. The selected State name populates the screen.
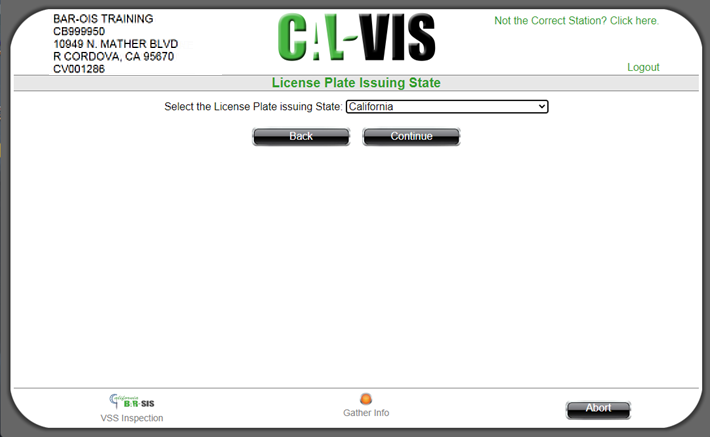
    Click Continue to proceed.
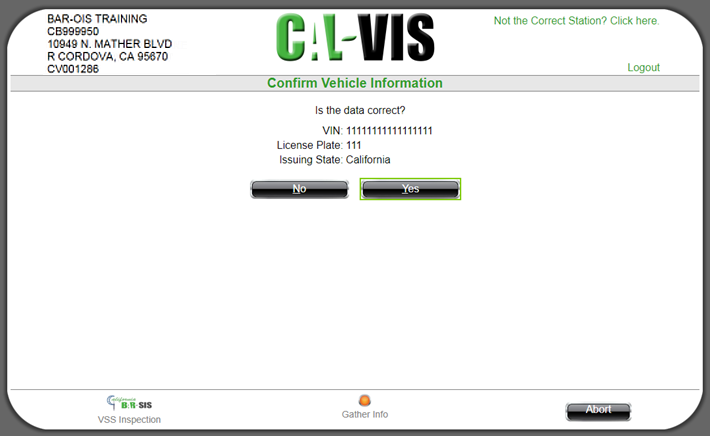
    1. Confirm Vehicle Information. Click Yes if correct. Click No to return to the Scan Vehicle VIN screen and re-enter vehicle information.

    Click Yes to proceed to enter Vehicle Attributes.

    Back to Top